
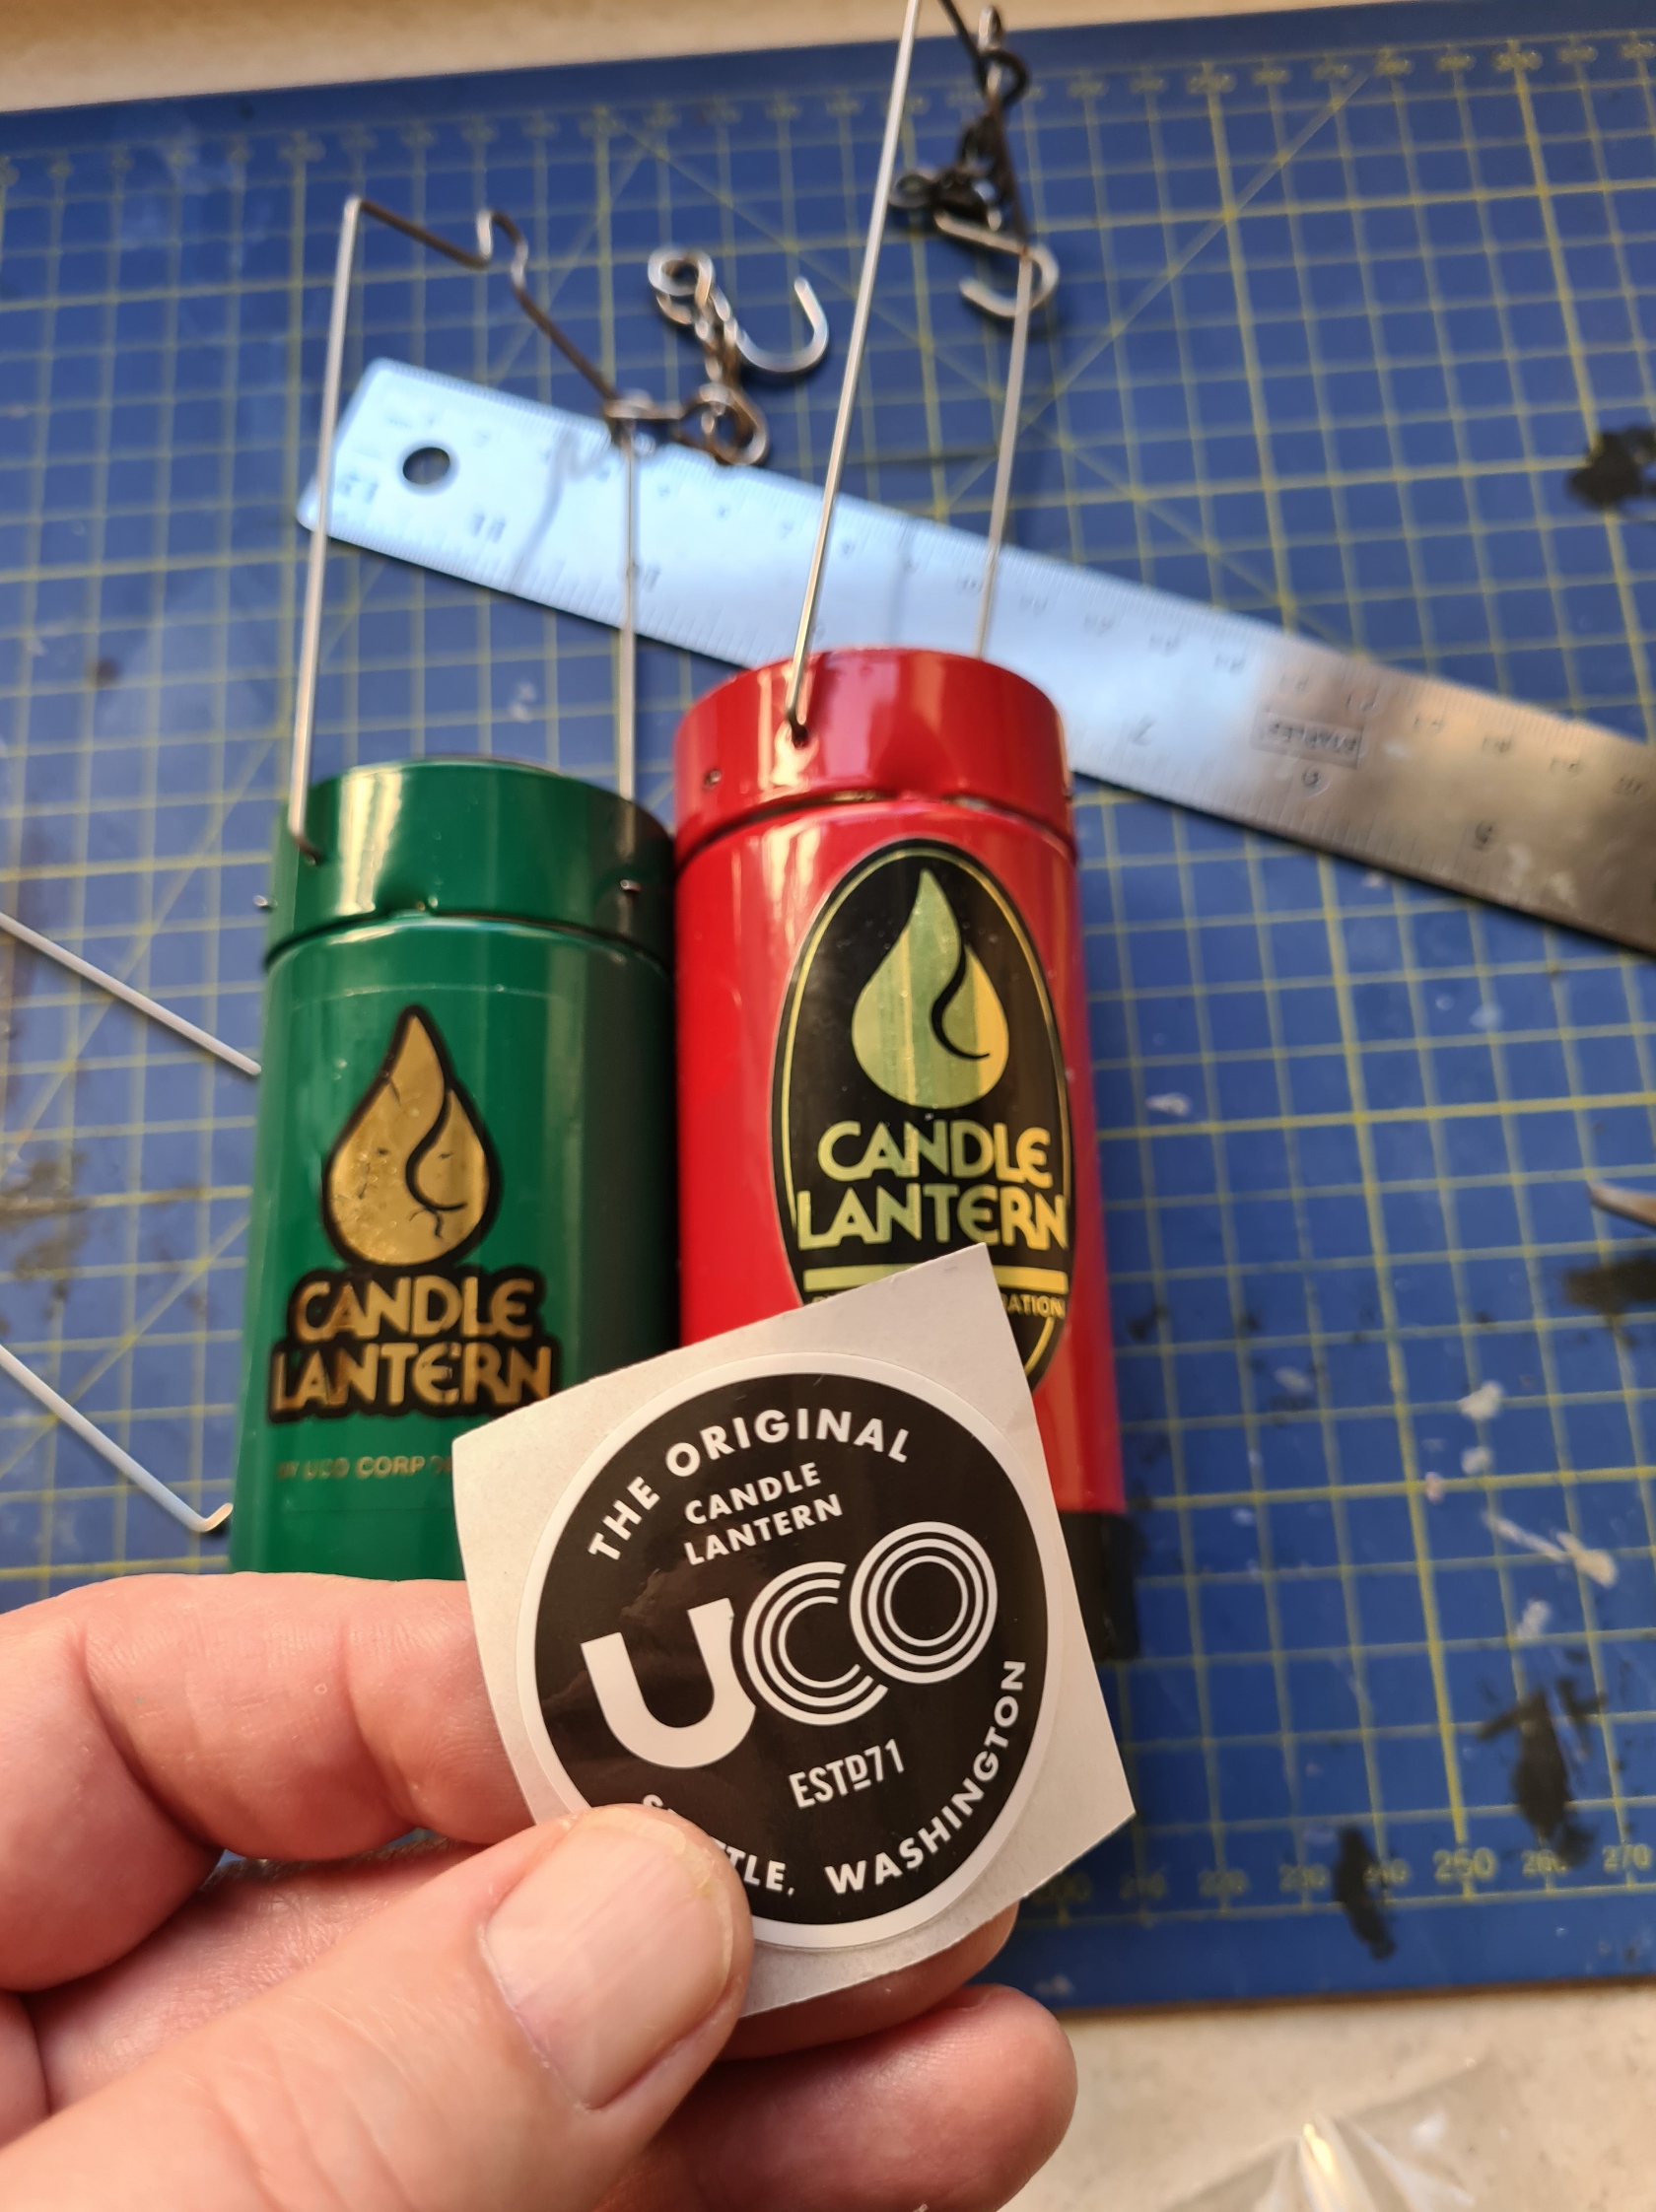
Three Points of the Compass has recently been checking the various backpacking lanterns from the gear locker. On a grey winter’s day, time was taken out to service two UCO candle lanterns.
If a UCO Original candle lantern is part of your camping arsenal, it makes sense to obtain a service kit (also called an original lantern refurbishment kit) in advance of actually requiring it. The official service kit contains most of the parts that might be required and removes the necessity of buying another complete lantern if you step on a component or (as I have done) lose the occasional part. Regrettably, UCO do not include replacement glass chimneys in the kits but do sell them separately, as do third party retailers. Again, put a spare one in the gear locker before you actually require it.


Though over-priced, buying genuine UCO parts ensures both quality assurance and that they will actually fit. There have been few design changes to the Original candle lanterns over the years and parts are compatible with almost all of these. The UCO Service Kit contains replacement candle spring, piston, plastic base, heatshield, chain, bail and branded decal. This kit will service both Original and Original+LED lanterns. This is handy, as I have one of each and was servicing both.
The UCO candle lanterns have few parts and are simple to understand, dismantle and reassemble following cleaning and/or repair. The various parts of a dismantled Original+ LED are shown here. I found that my two lanterns not only required some wax build removing but a couple of parts from the service kit also needed to be fitted.

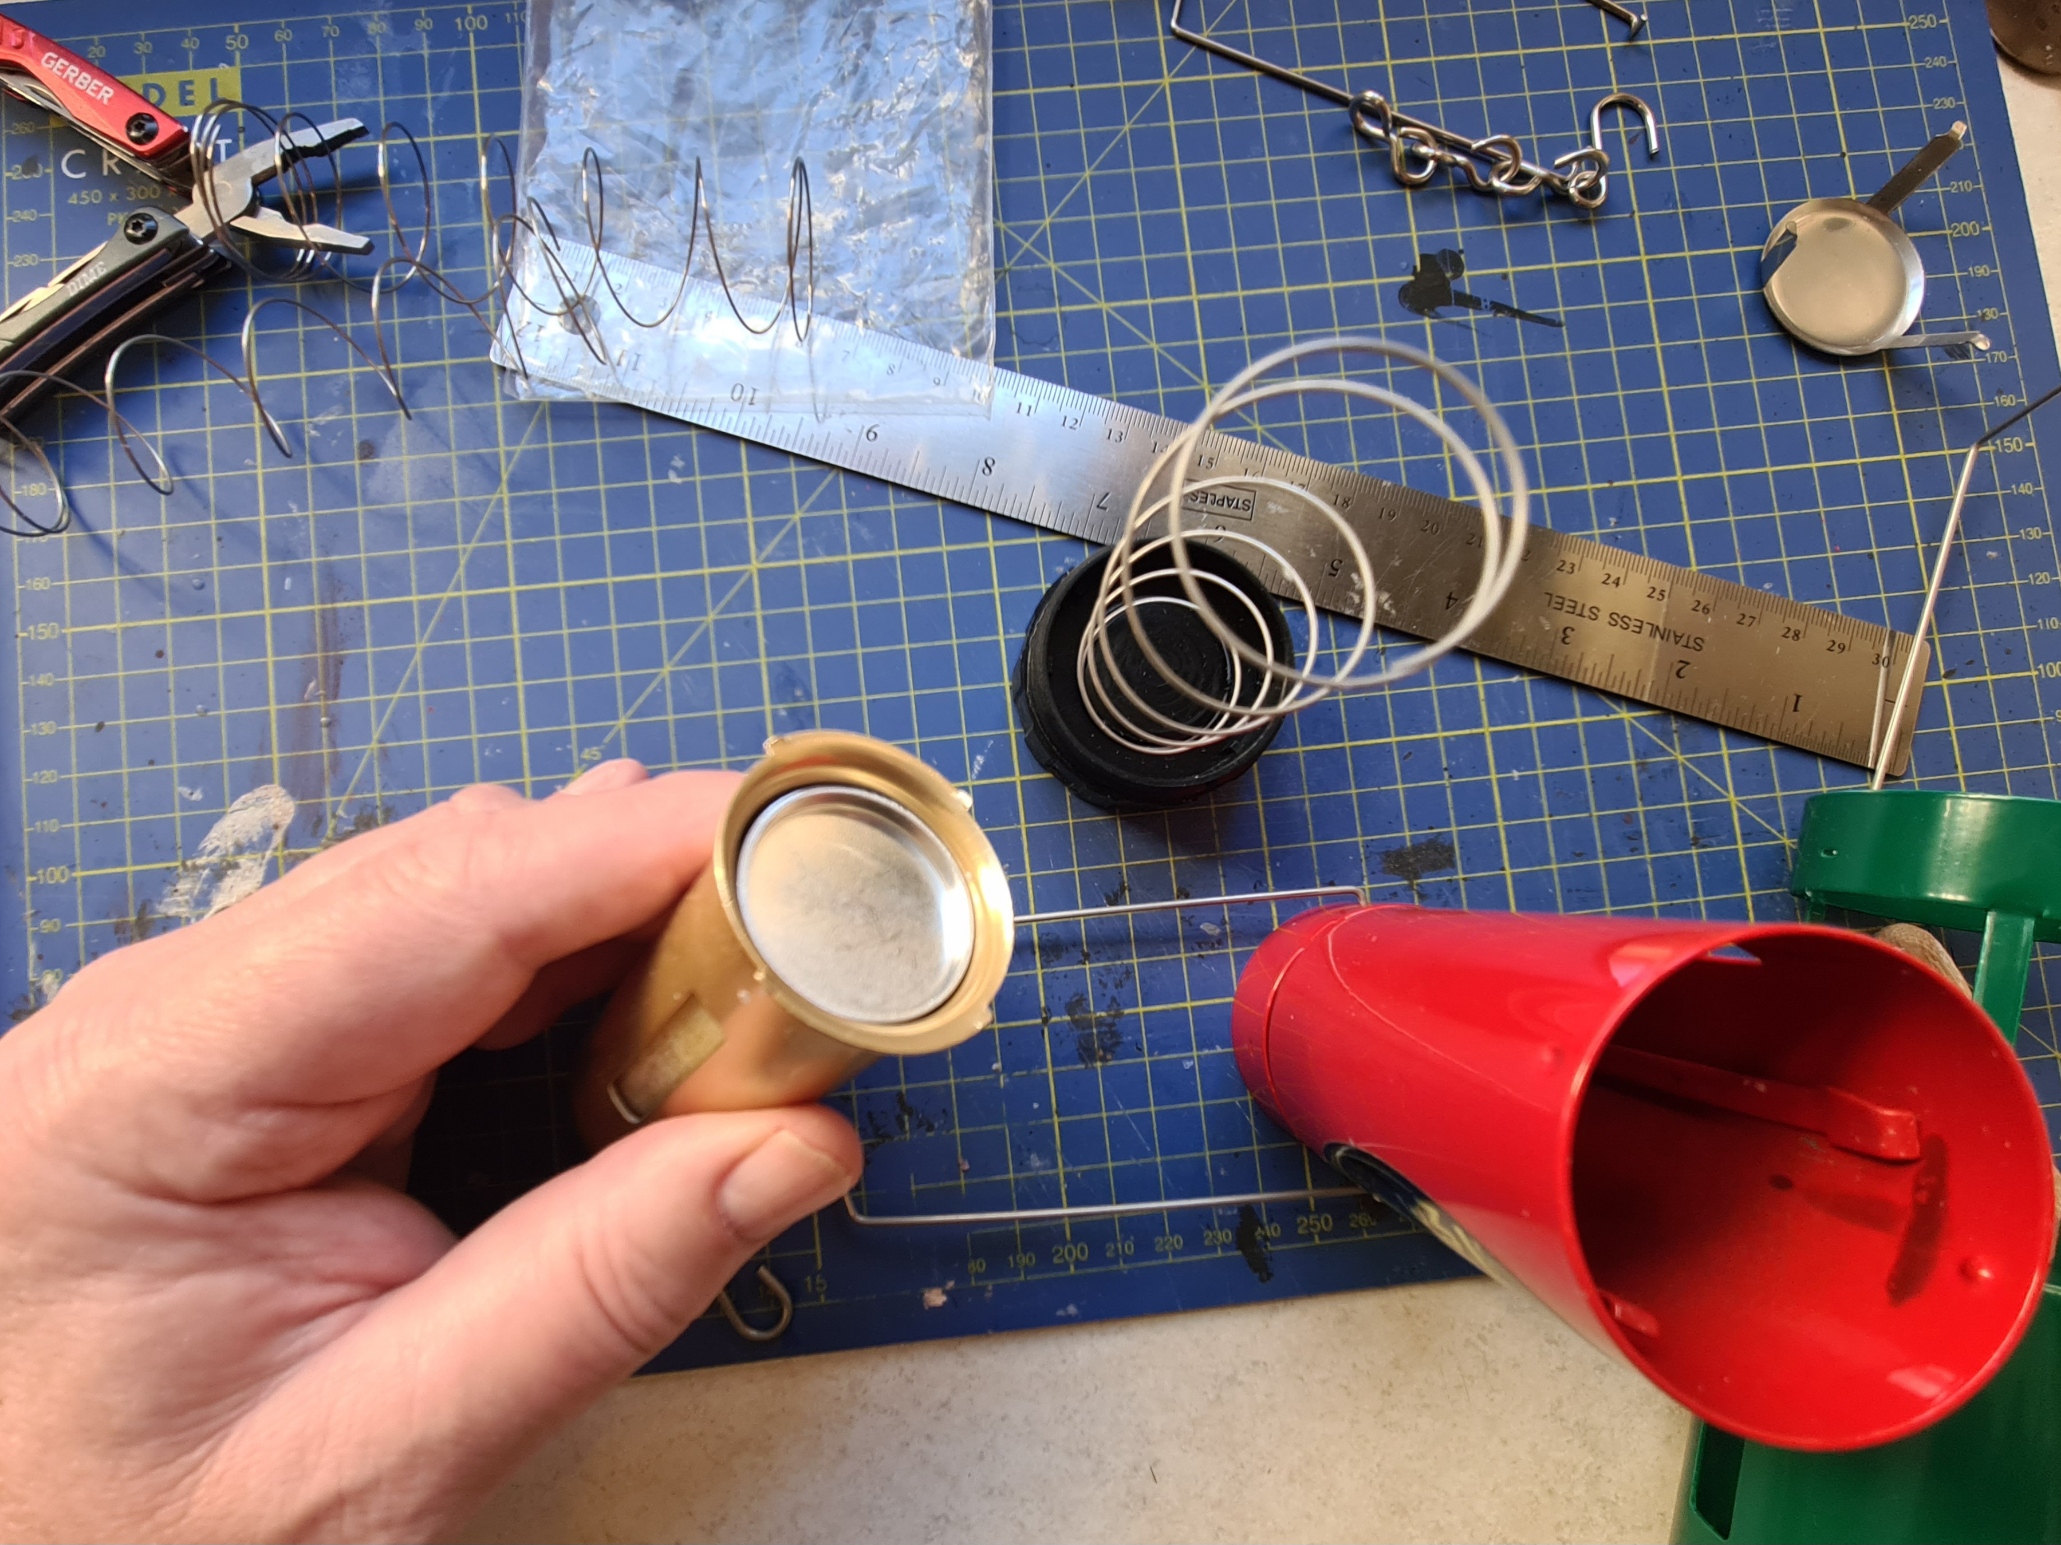
I found that I had lost the small metal piston that should go between spring and candle. This can often attach itself to a spent candle and get thrown away or slips out un-noticed when replacing a candle. Careless perhaps, but that is no doubt what I have done. Replacement pistons are included in the service kit, but UCO really should sell these easily lost items individually. They are not essential but do ensure a candle is pushed up evenly inside its surrounding metal column while it burns. An appropriately sized coin or washer would act in much the same manner.
If knocked or tipped while burning, the candles can easily spill wax onto the metal candle surround, inside of the metal lantern body, or onto the inside of the glass chimney. Wax on the internal metal candle surround can stop the candles moving up under spring tension and causes incorrect burning, or even a candle extinguishing. This must be kept clean. Wax on the glass chimney simply means less light.
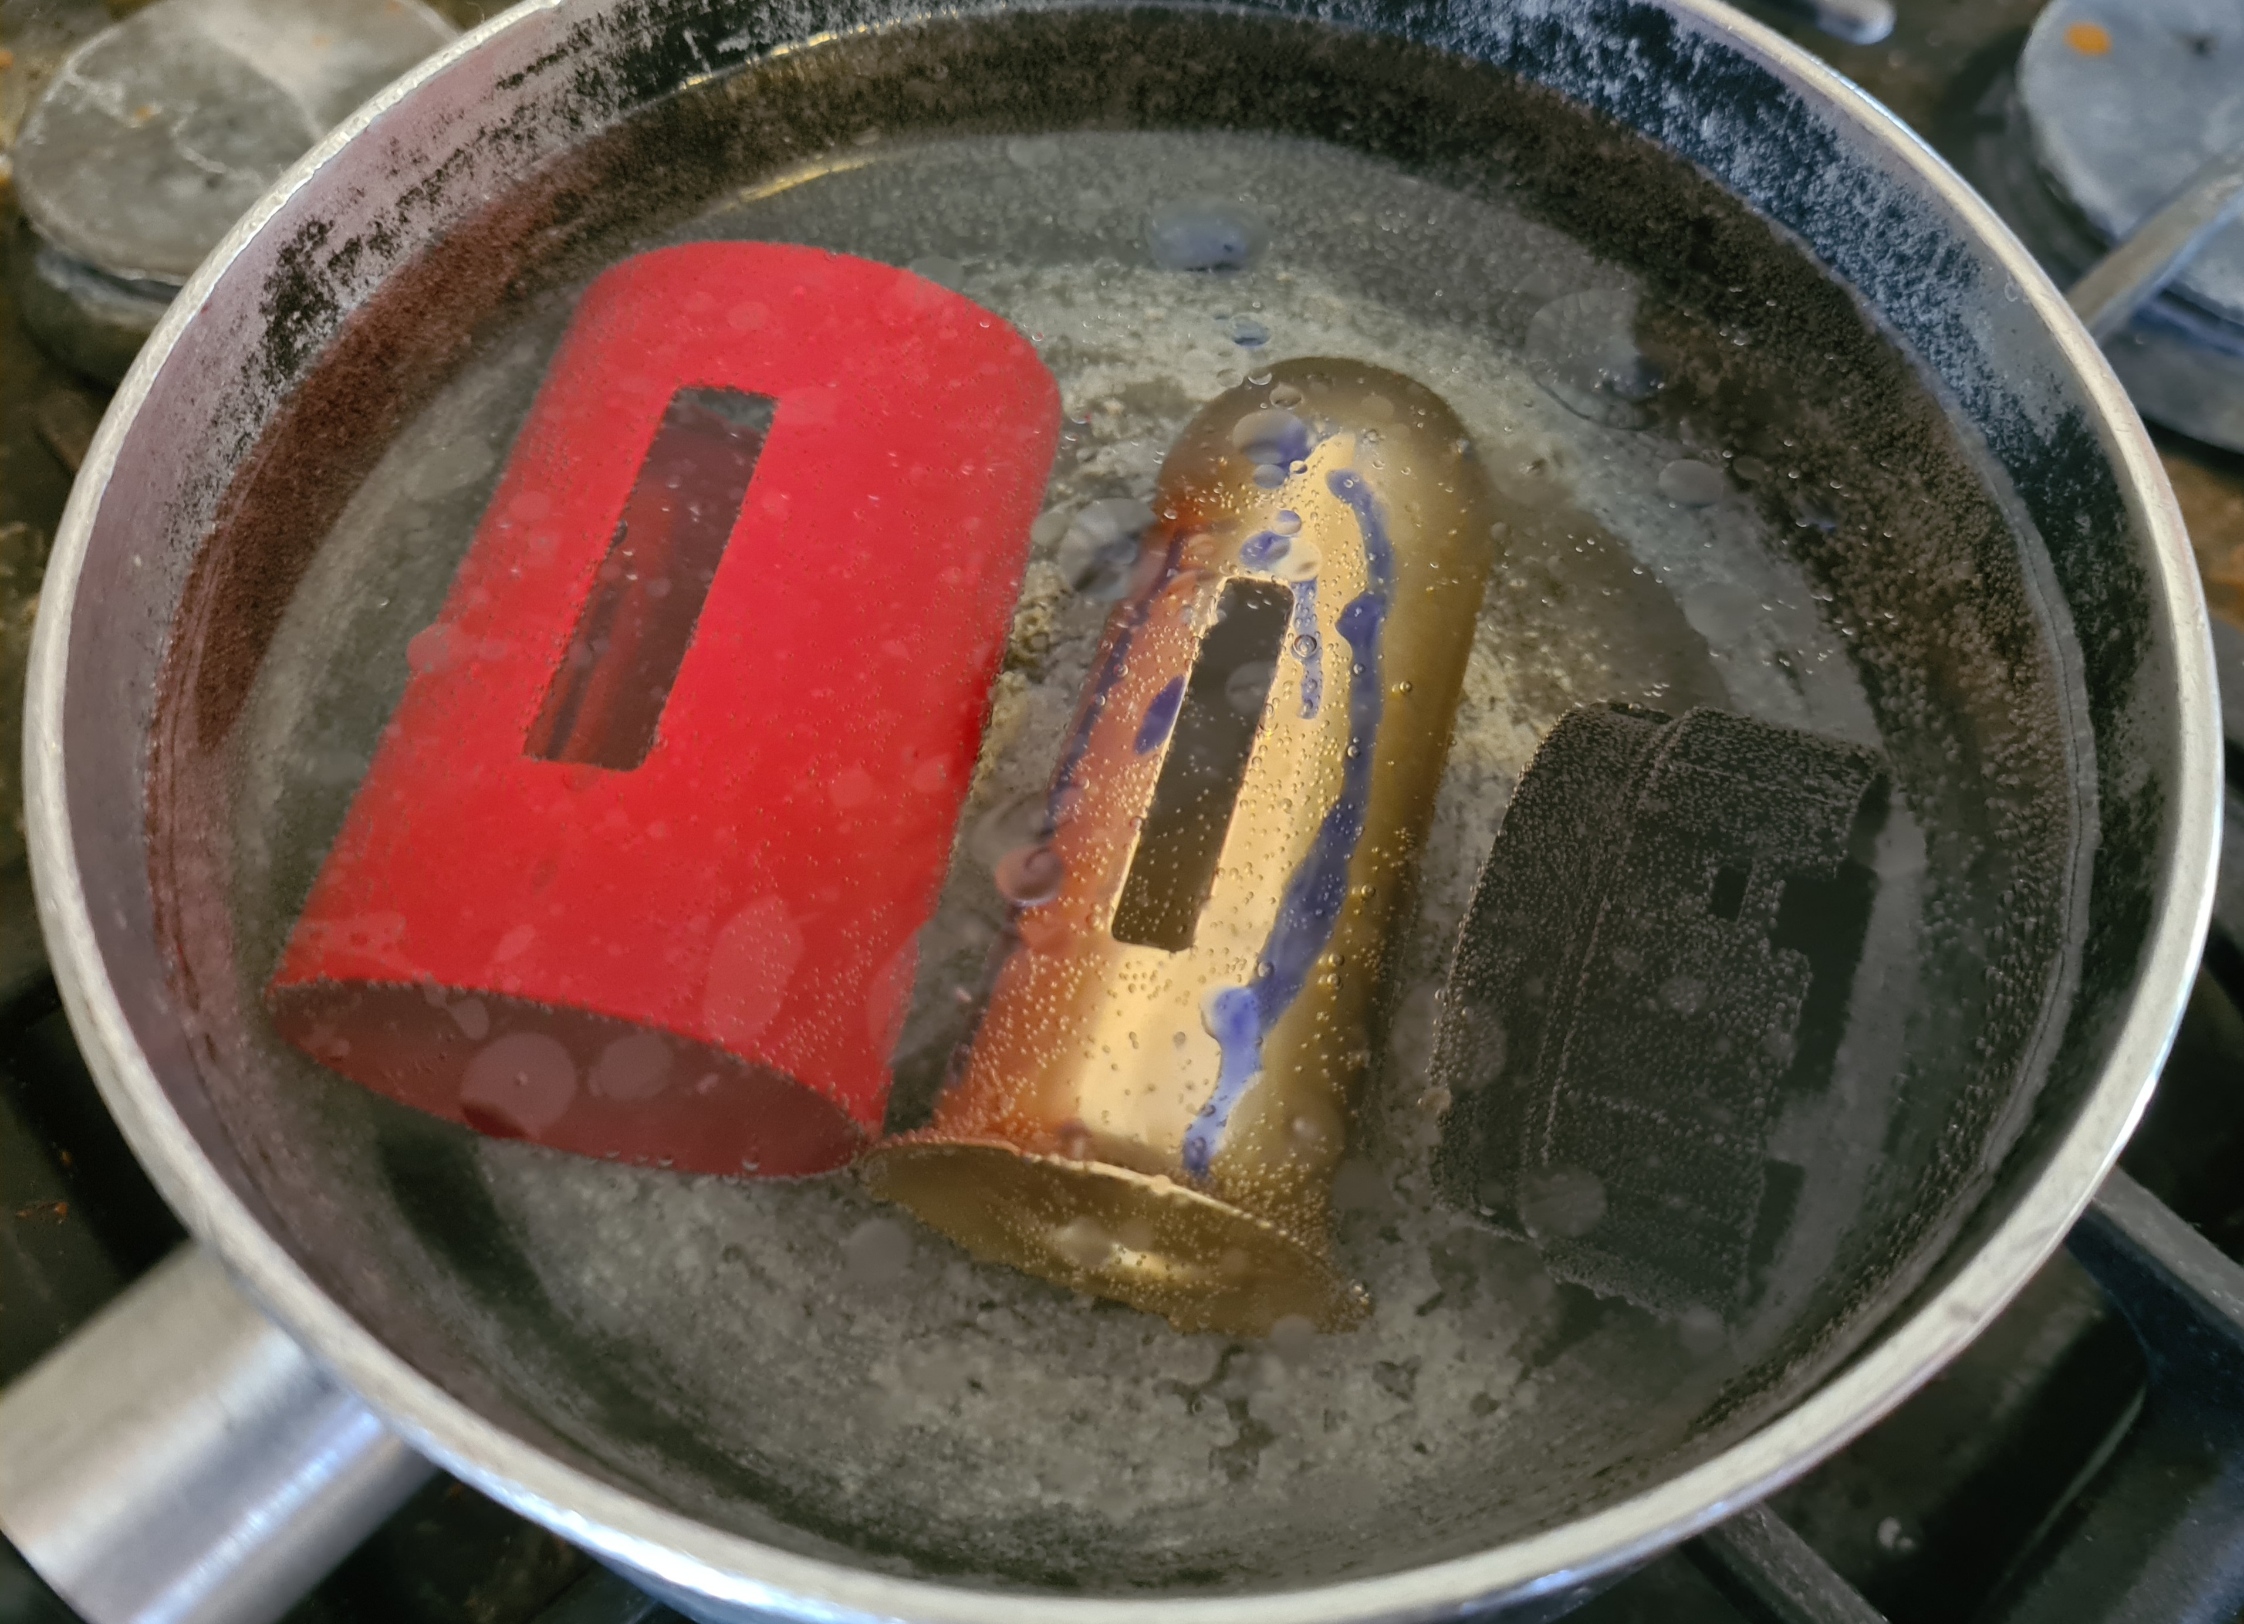
There are various ways to remove candle wax. In the field, the choice is to either leave it, or gently chip off with a fingernail or blunt implement. Care has to be taken not to distort metal or break the glass chimney. The easiest way to remove it is at home. I had various blobs and smears of candle wax on parts of my dismantled lanterns. These were placed in a non-food use saucepan, covered with water and slowly heated to just below a simmer. This will not harm any of the components. Much of the wax will simply float off, but not all. Turn the heat off, grasp each hot part with a pair of pliers or leather glove and scrub what still adheres with an old toothbrush. Then wipe over with a paper towel. Components will come up pristine. Note that wax and water from the pan cannot be disposed of down the sink.

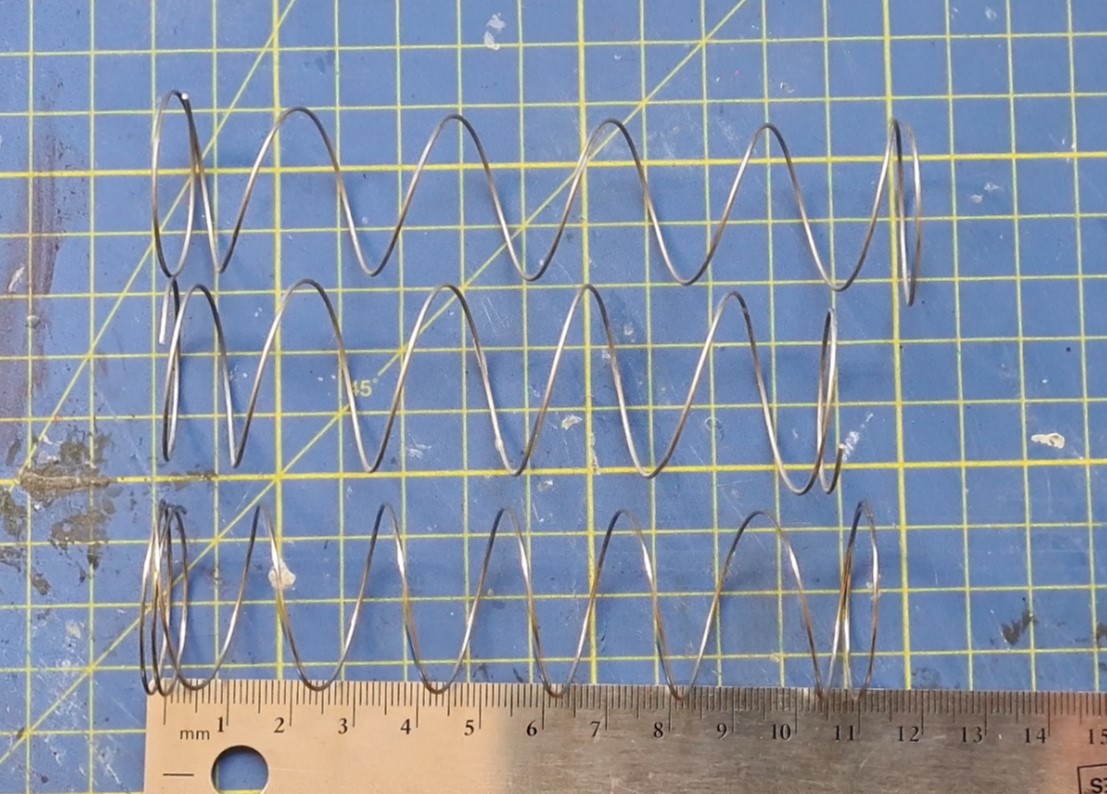
The springs may need gentle stretching to put candles back under tension. I did find that there is some difference in spring length. The spare spring included in the official service kit is of the same gauge but is a beefed up component with an extra turn at the end. This measures 110mm from new. My spring in my Original candle lantern is 118mm and Original+LED is 105mm. Both lanterns work correctly so I would say that springs between 105mm and 118mm are optimum, with perhaps some leeway beyond that.

One of my lanterns had lost its hanging chain from its bail. A replacement is included in the service kit, along with a new bail should that be required. The metal bails are fitted to the lanterns with their ends inserted into holes in the top section and ends turned through ninety degrees, these do not appreciate straightening for removal, and it isn’t necessary either. Gently twisting the entire bail gives sufficient leeway for the ends of the bail to be slipped out of their retaining holes. Hanging chain or bails can be easily replaced as a result. This action is very likely to bend in or out one or more of the three legs on the top section.
The three legs on the top section must be correctly tensioned and might need gentle bending out to ensure they are correctly splayed and properly slide between glass chimney and metal body, and clip into the three indents properly when fully extended. The three tips need to be bent inward to tension the glass chimney correctly. A pair of plier tips and judicious bending in degrees alongside occasional trial results in the correct tension being achieved, just don’t overdo it..
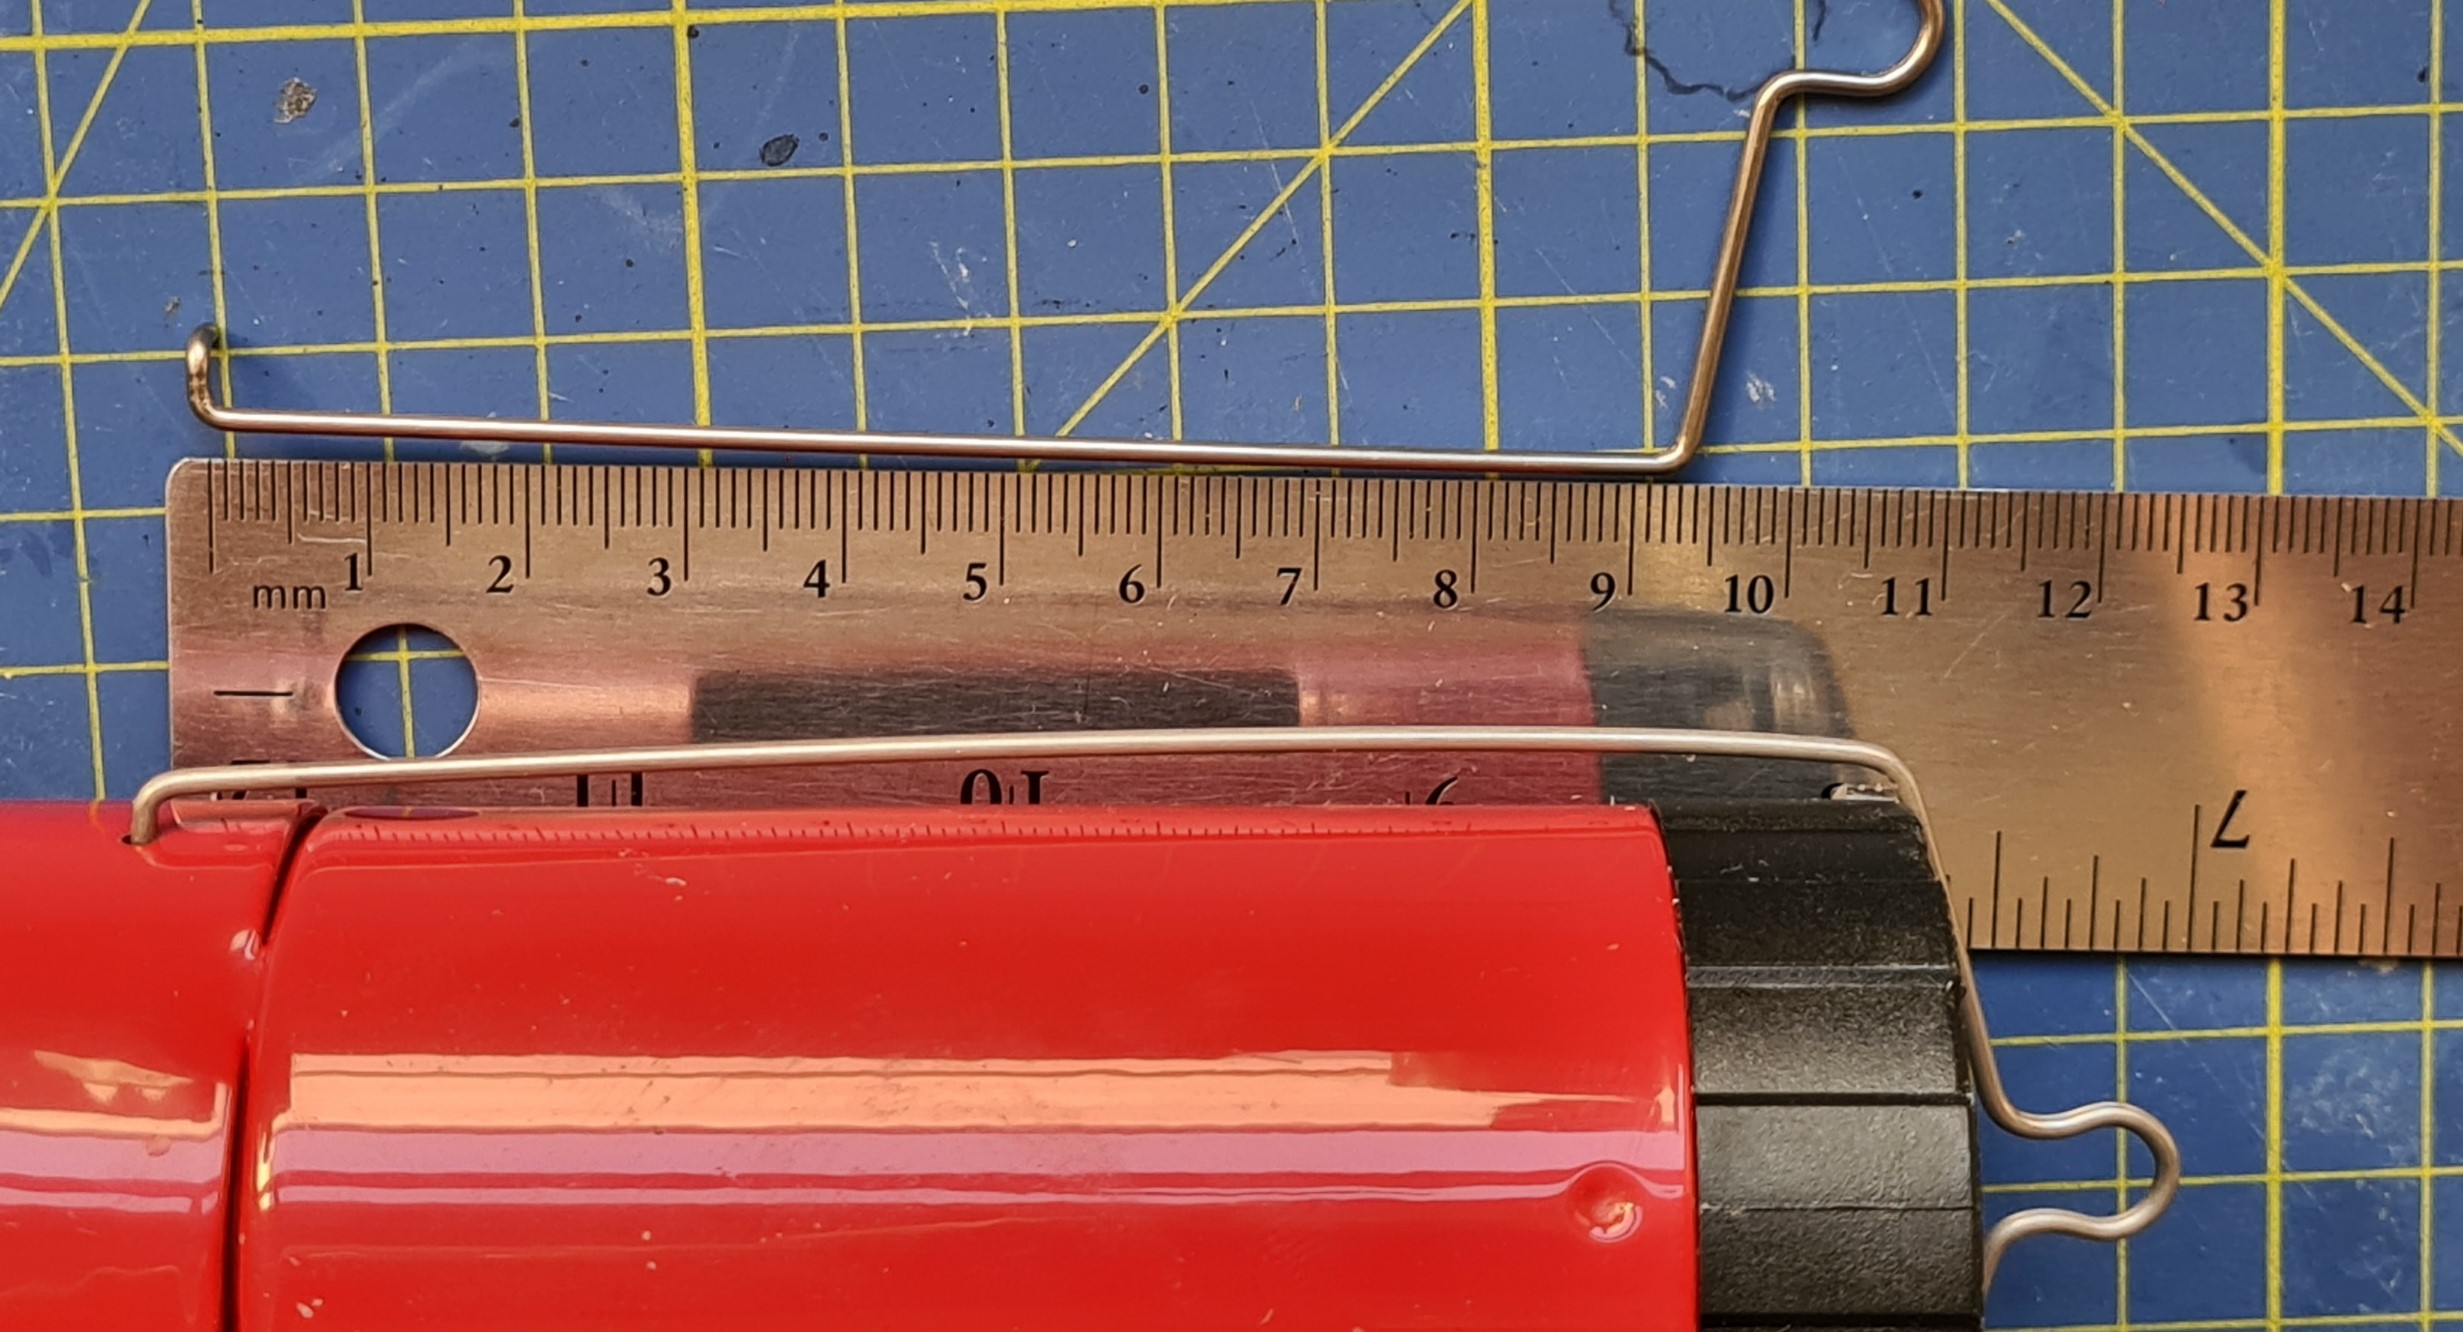
While the service kit includes a spare bail, this will only fit the Original lantern, not the now-discontinued Original+LED, that has a longer bail so as to be able to clip under the deeper plastic base where the LED is housed. This is not a problem as a replacement base for an Original lantern is also included, and this and the Original lantern bail can simply be swapped out for the longer +LED bail and deeper base.

While my service of both lanterns has been both simple and successful, this has mostly addressed long standing non-urgent issues. If a glass chimney breaks, that is a different matter and I have had to deal with that in the past. Replacement glass chimneys for Original, Mini and Micro UCO lanterns, and the three-candle Candlelier are available from UCO.
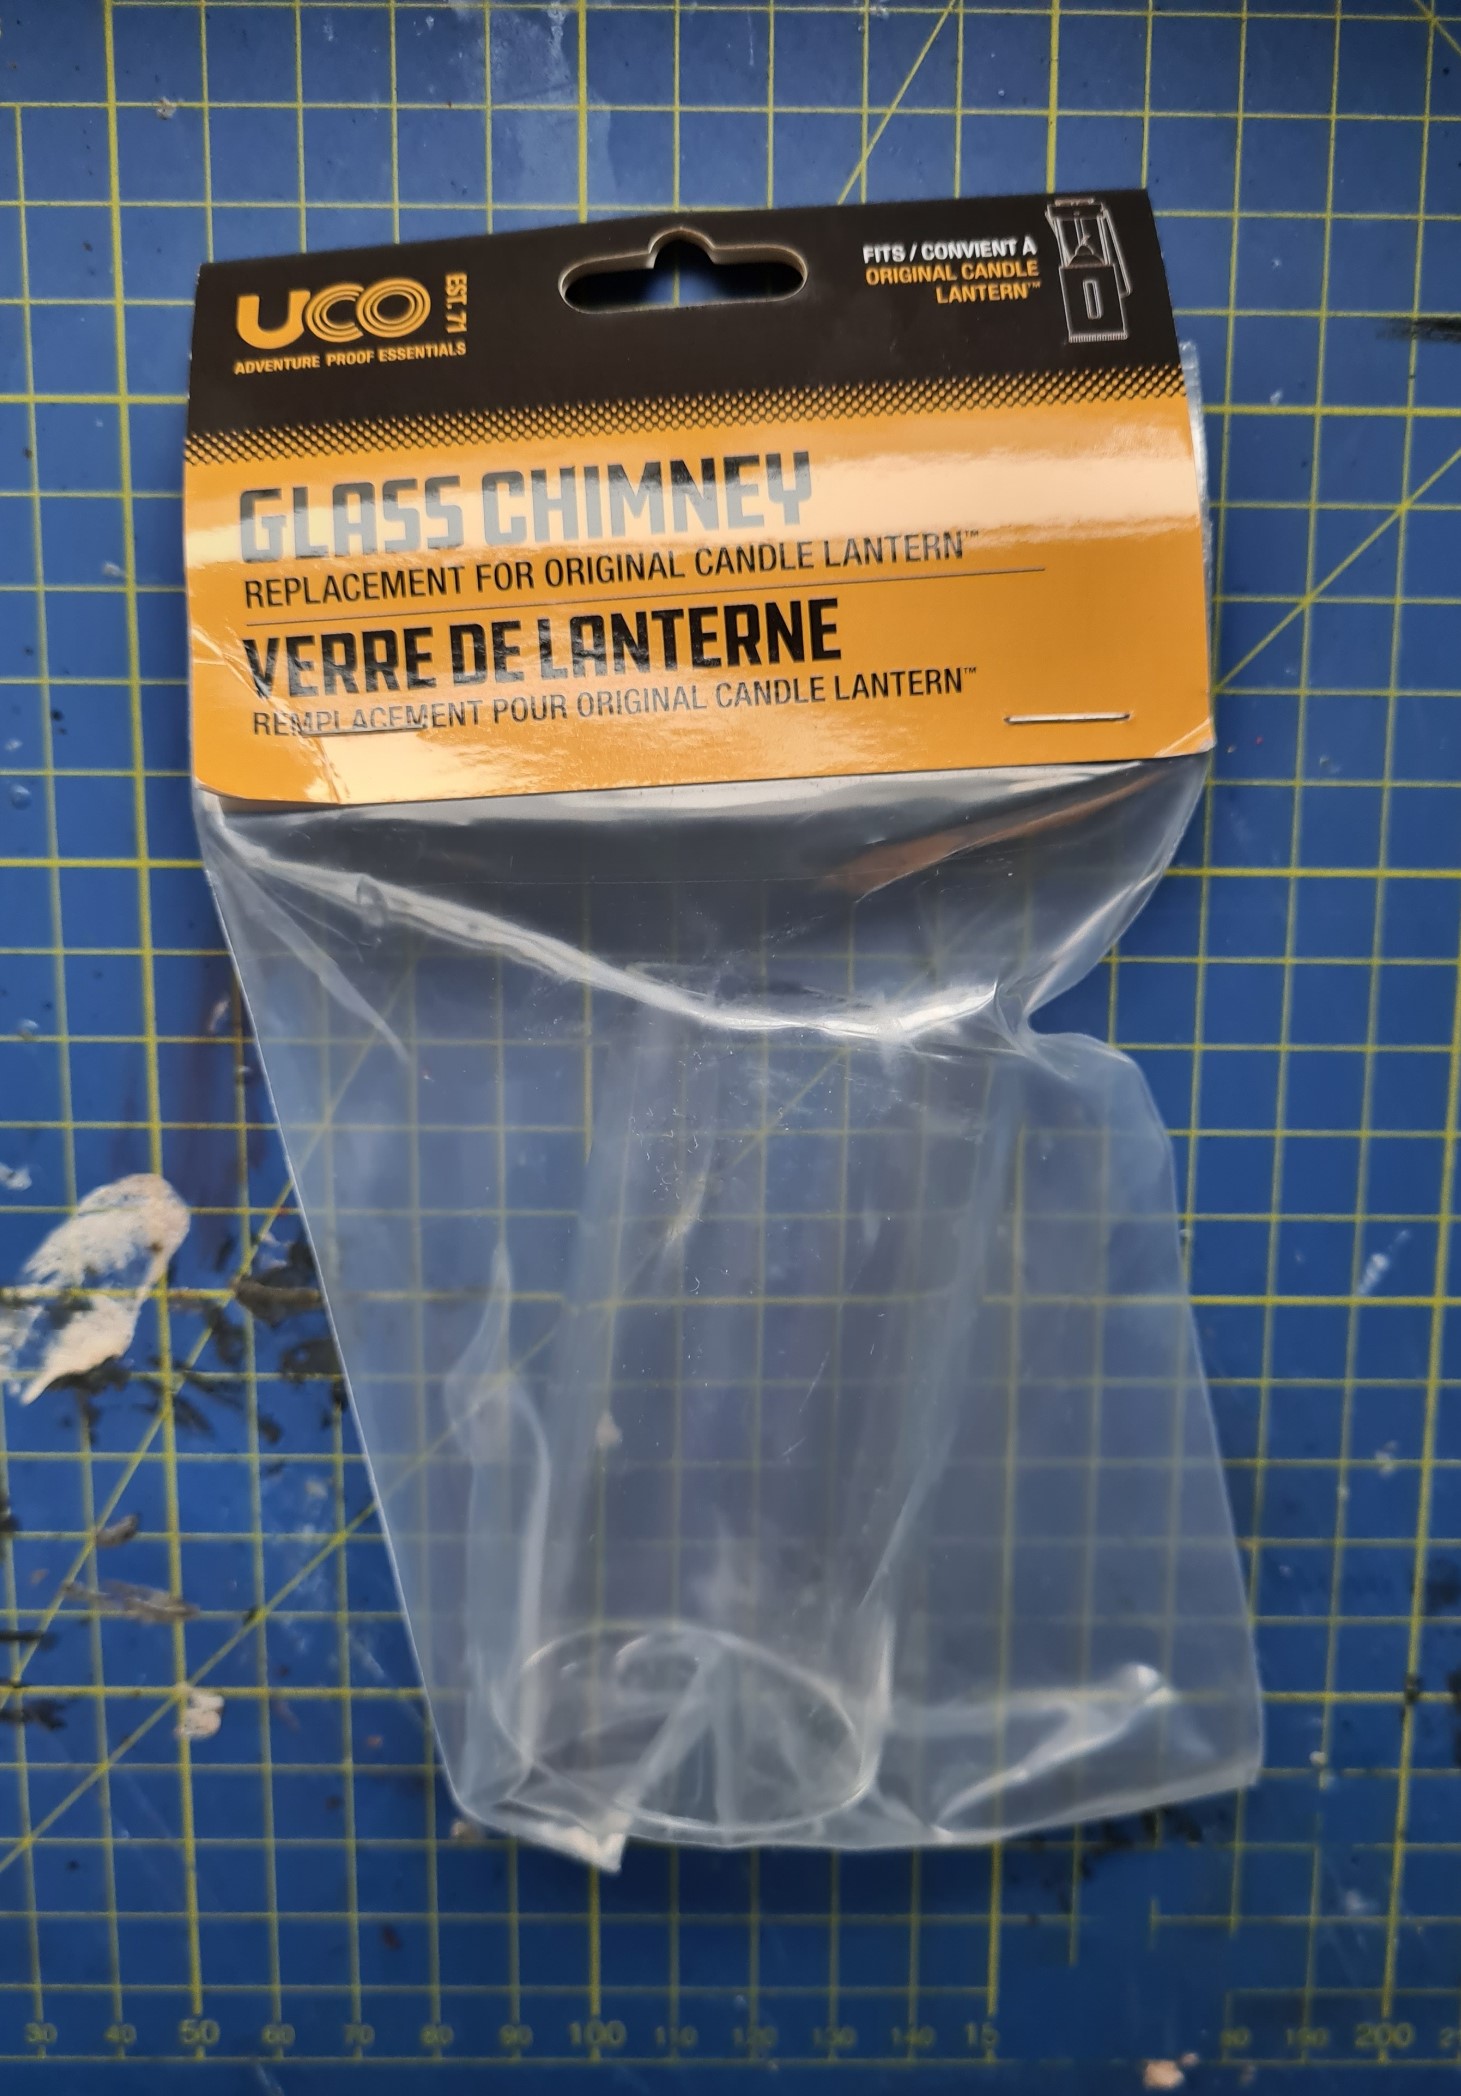
The replacement chimney for the UCO Original Candle Lantern also fits my now discontinued Original+LED lantern. Replacing a lantern’s glass chimney is a very simple task, the only thing to be careful with is removing and disposing of the broken glass. Spread a piece of cloth or paper and untwist and open the base of the lantern, then empty out any shards of glass, a shake and extending the body will remove all or most of the broken glass.

Any remaining and larger pieces of broken glass chimney can be removed from the top of the lantern and the new chimney is most easily inserted the same way, from the top. The little heat shield at the top is simply unclipped from the lantern to provide access. It may be that the lantern body has to be extended so as to slide the broken chimney out. The heat shield is easily clipped back into place afterward.

If the glass chimney doesn’t stay up while the lantern body is extended and in use and keeps sliding down, it is likely that the tips of the legs are not correctly tensioned. Remove the top section and bend the tips of the legs inward very slightly with a pair of pliers.
That about covered my lantern service. I renewed the two button batteries in my LED light and gave that a gentle wipe over. Both heat shields at the top of the lanterns have a heat derived patina but didn’t require replacing. I never felt any need to replace the branding decal either. Then it was just a wipe over with a soft cloth of both lanterns, before fitting new beeswax candles and packing them away.
This has been part of a series of blogs looking at small lanterns suited to lightweight backpacking, that can also be used in the home and elsewhere:
- BRS-55 Dream Candle, a gas-powered candle
- Light diffusers– small silicone shades that create a 360° spread of light
- Montbell crushable lantern shade, converts a headlamp beam to a 360° spread of light
- Nitecore ML21 magnetic lantern for attaching to Nitecore 21700 series HPi batteries
- Nitecore NU25 headlamp, lightening the headband
- Olight Obulb, battery-powered 360° LED globe lantern
- Primus Micron gas lantern, with steel globe, an ‘almost’ unbreakable gas light for plenty of light and heat in camp
- Primus Micron gas lantern: changing the mantle
- RovyVon Aurora A5x Red, what was probably the best handheld ‘glow-in-the-dark’ keychain light there is for backpackers, until…
- RovyVon Aurora A5R, third generation handheld ‘glow-in-the-dark’ keychain light (2022)
- Silicone light diffusers
- Sofirn BLF LR1 2.0 lantern. The best battery powered lantern available. Not for backpacking though
- Sofirn BLF LR1 Mini, smaller and lighter version of it’s big brother
- UCO Candle Lanterns, old school light and heat
- UCO Candle Lantern accessories
- USB-A LED lantern– minimal 360° lighting in a small tent
- USB LED lights– there is nothing lighter, nothing smaller!

I live in Argentina and I need to replace it glas chimnel
where can I buy it?
LikeLike
I suggest you contact UCO and ask them for a list of their suppliers more local to you, best wishes
LikeLike
Exceedingly helpful article after a major wax spill. Thanks for sharing.
LikeLike
No problem 👍
LikeLike