
A quick look at the repair of a punctured Thermarest NeoAir Xlite inflatable pad.
It is not often that Three Points of the Compass has had to repair a Thermarest inflatable sleeping pad. Other than the fragile 15 denier UberLite the inflatable NeoAir pads are pretty robust and I take a degree of care to ensure that the ground beneath my shelter is clear of obvious puncture danger. I have cocked up in the past and suffered total destruction of the pad fabric from a sharp flint. That resultant gash was beyond my attempts at repair, requiring complete pad replacement. I now also include a short piece of 3mm thick Evazote closed cell foam beneath the torso part of my pad when backpacking, this provides a little more protection and stops the pad sliding around at night. However, I have still had to repair the odd puncture over the years. It isn’t a difficult task, but a few images may help those new to it. For the old and experienced hands out there, feel free to ignore.
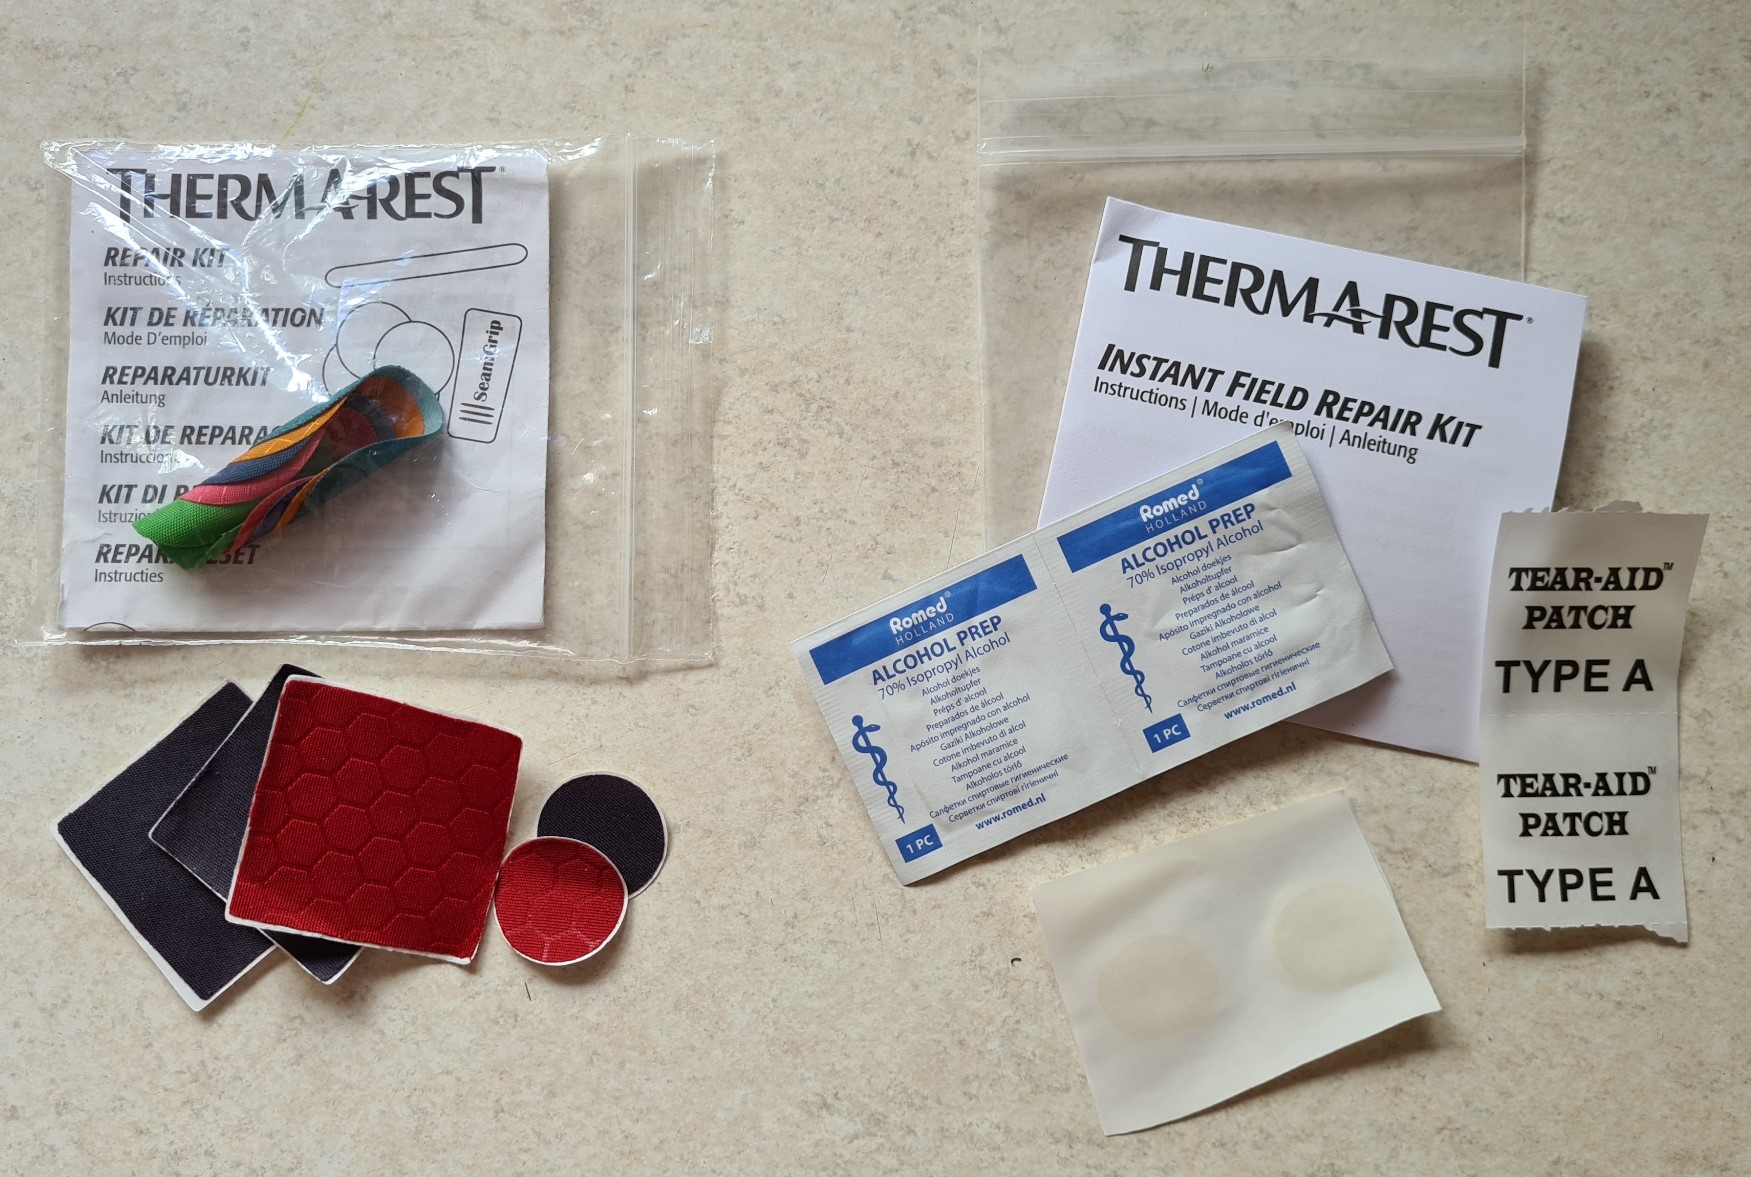
Many people will simply carry a bit of adhesive DCF repair tape or Tenacious Tape and slap that on a small hole. Such a repair might last weeks, months, or even years. But more often than not this type of on-the-fly repair will only be temporary. By far the best method is to use the components included in the specialised repair kits. Thermarest make their own repair kits but a pad is a pad and there is no compunction to show brand loyalty, though I do. Other mat suppliers produce their own kits- Sea to Summit, Multimat etc. Thermarest have produced different versions of their repair kits over the years, steadily improving in efficiency and ease of use. The two standard repair kits they have sold for some time now are an Instant Field Repair Kit, which normally comes supplied with every mat as sold, and a Permanent Home Repair Kit that has a degree more faff about the repair and takes longer to dry yet supposedly provides a more durable repair. The Instant Field Repair Kit does produce a very good repair however, especially on the NeoAir range, and it is this that I have shown here. Do beware of an old kit that has been sitting around unused in the gear locker for many years as glues harden and adhesives lose their potency.
Some damage to a sleeping pad is simply beyond a field repair, even an attempt at home with more time, equipment and repair material may be unsuccessful. It is possible to contact Thermarest and ask them to attempt a repair, but that will have a cost and time element about it and even then, a successful repair is not guaranteed, particularly if the damage is extensive. Fortunately most punctures will be small and within the capabilities of most of us.
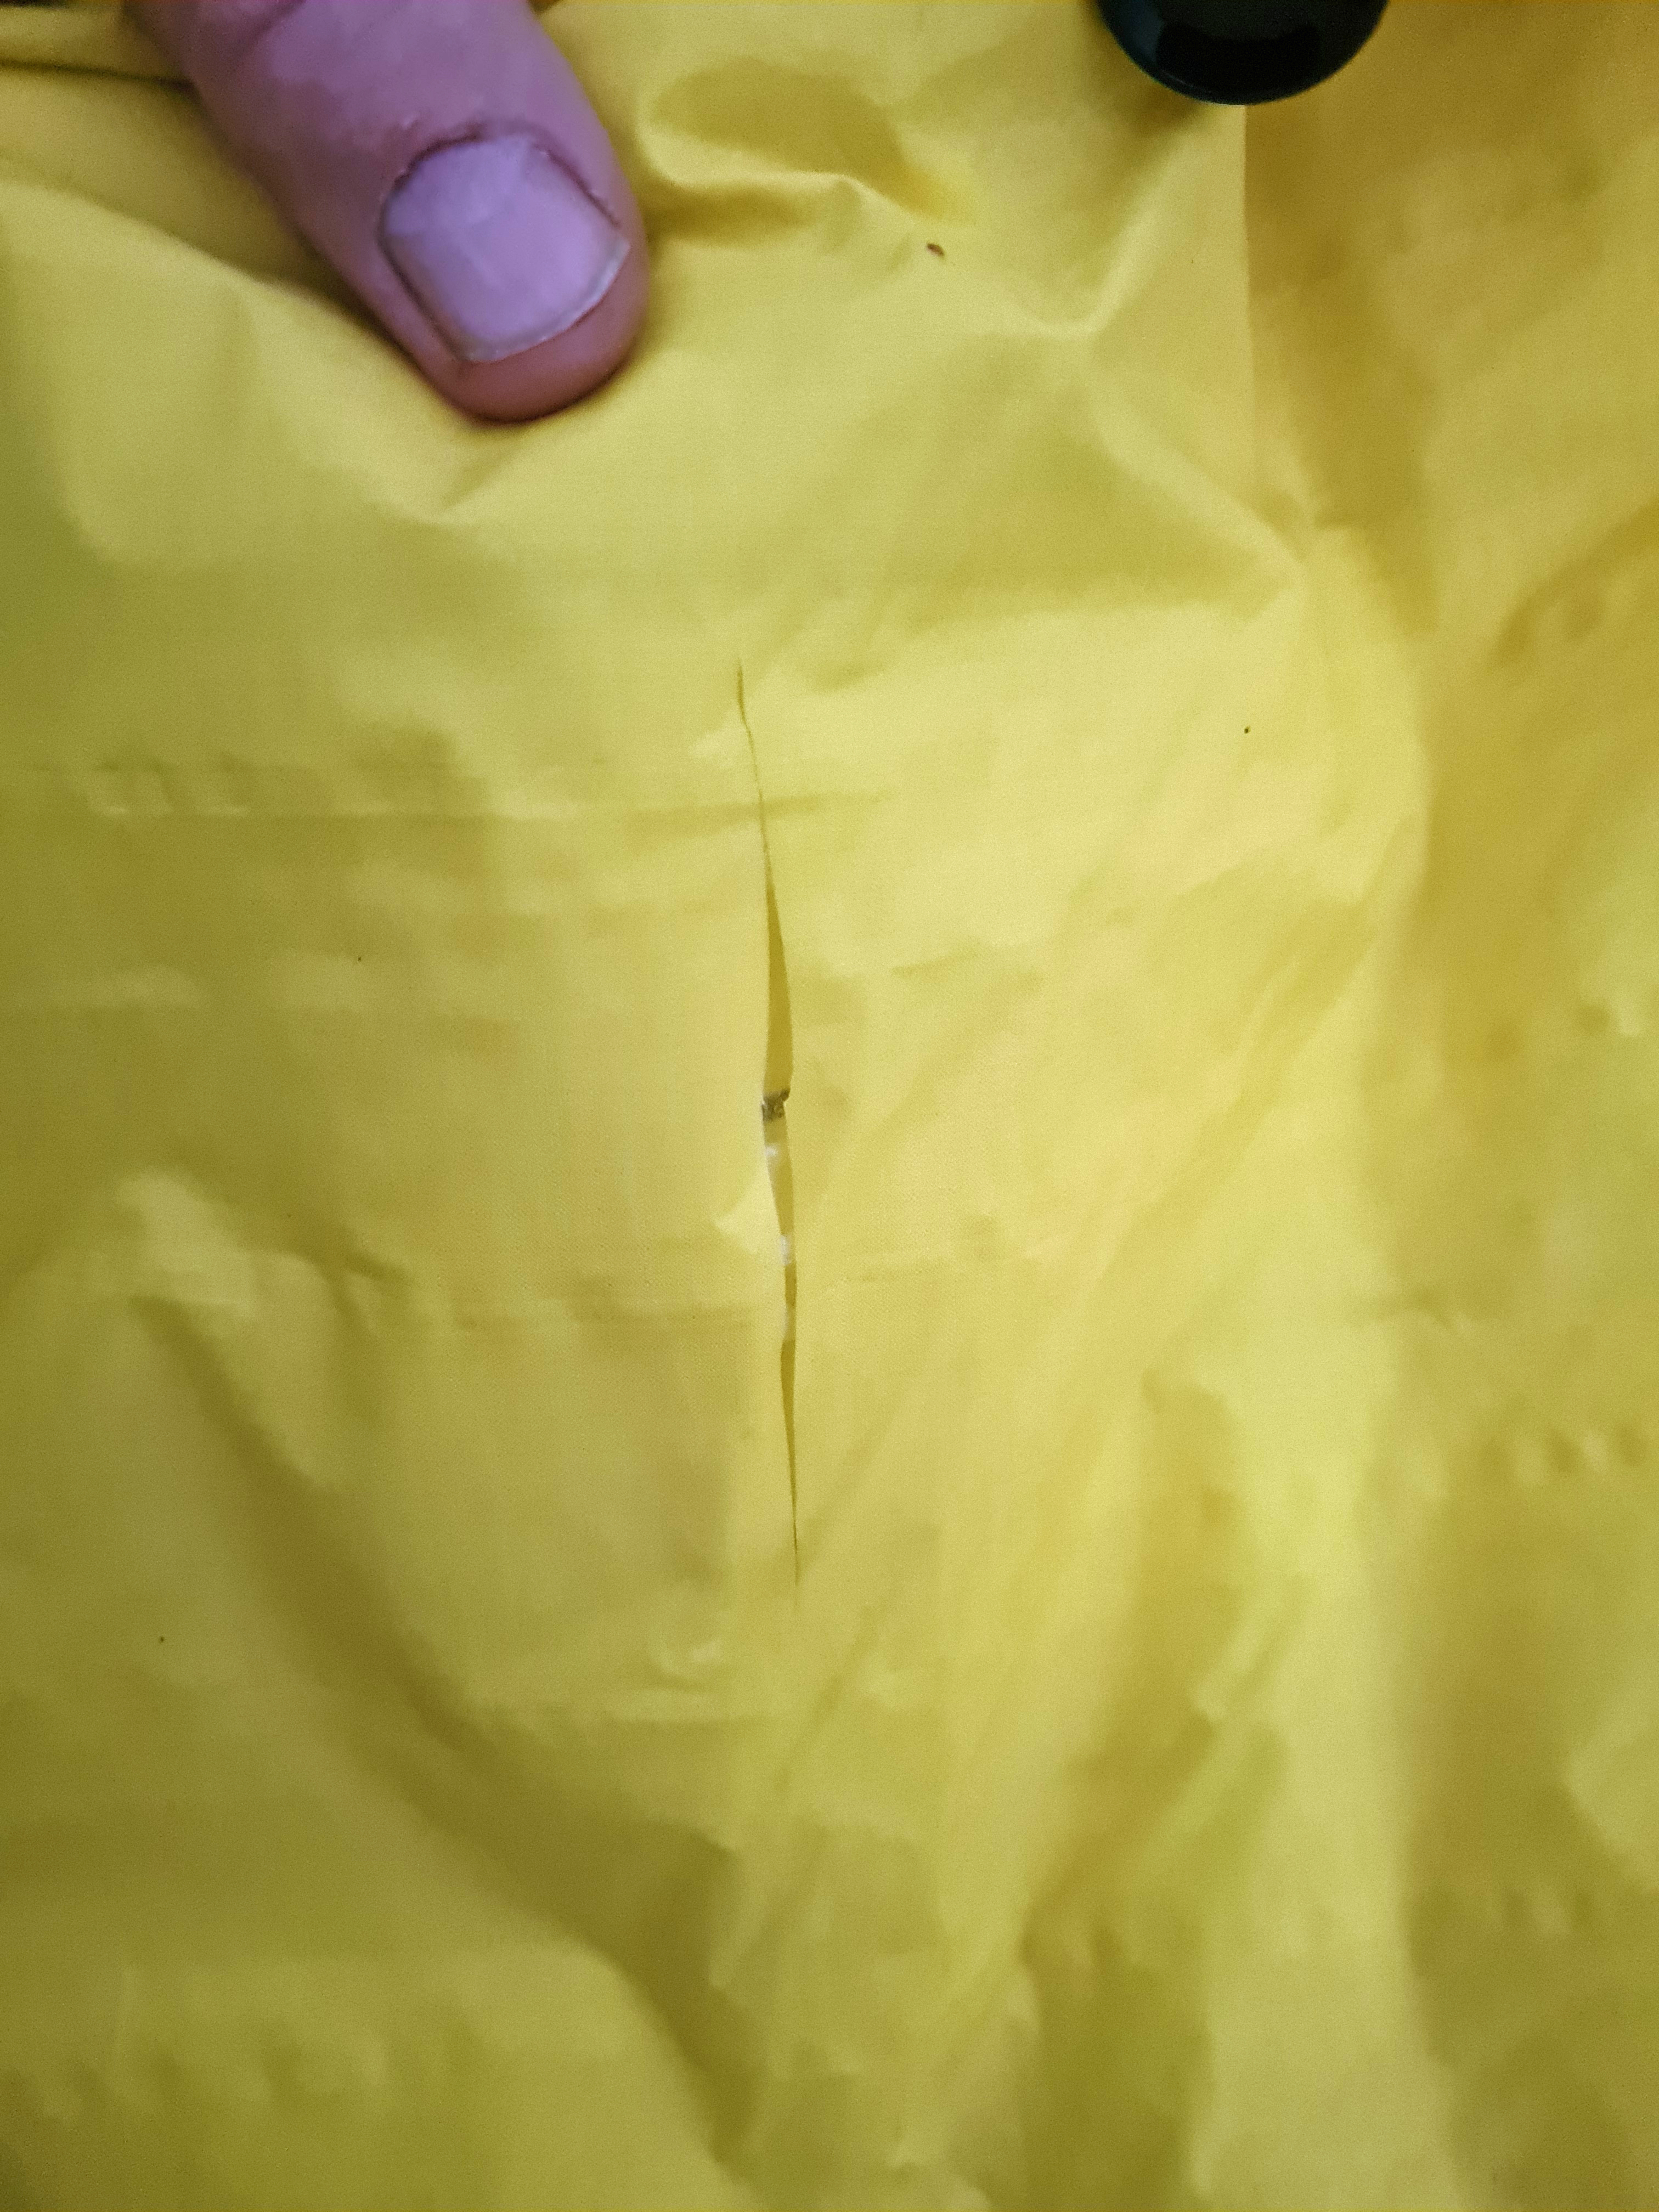
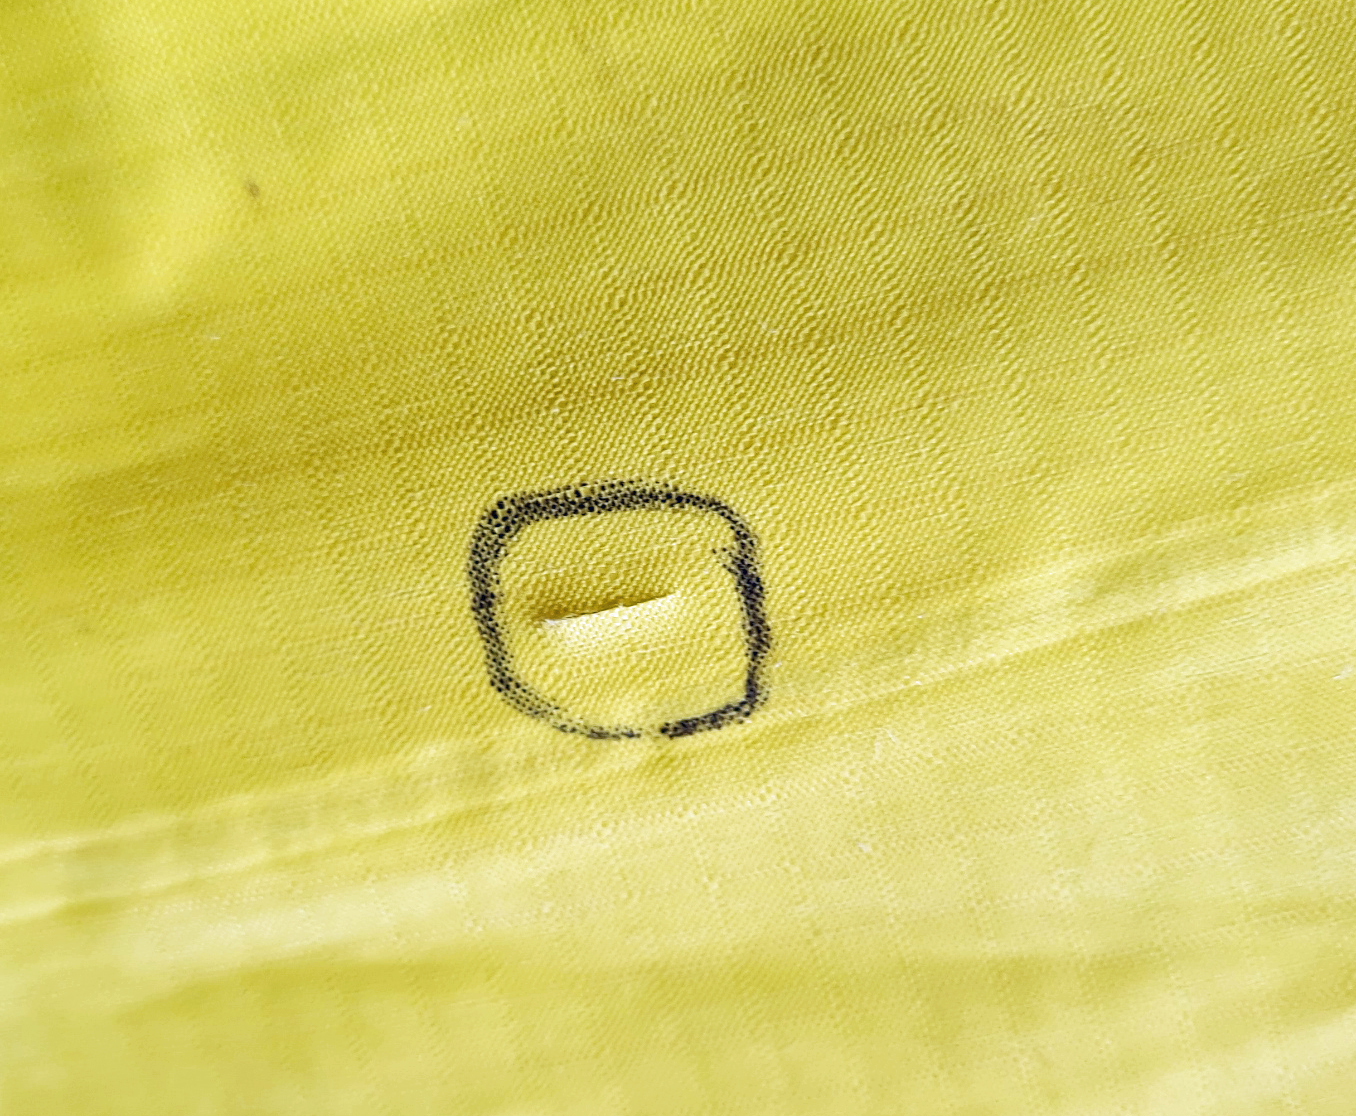
The first job is to locate the puncture. This may easily be detected by the hiss of escaping air. In the field, a bit of spittle over the suspected hole will show up as bubbles of escaping air, that or try using soapy water. By far the easiest method is to immerse a partially inflated pad in a bath. Folding the pad will increase the pressure. But there are not many of those in the field, so working carefully over the entire surface of a pad in a stream or sink in a hostel or hotel room may have to suffice. This may entail waiting until such facilities are available. Be aware that there may be multiple punctures. Once found, circle the puncture with a sharpie or pen to make it easier to locate later. With slow punctures it can take a few minutes for bubbles to appear and some tiny slow punctures can be difficult to find, or even impossible! I have one on a Thermarest XTherm that I have never found, instead, the mat would slowly soften over many hours. I grew weary of this and replaced it eventually. That is my winter pad and I want all the insulation it delivers over long dark winter nights.
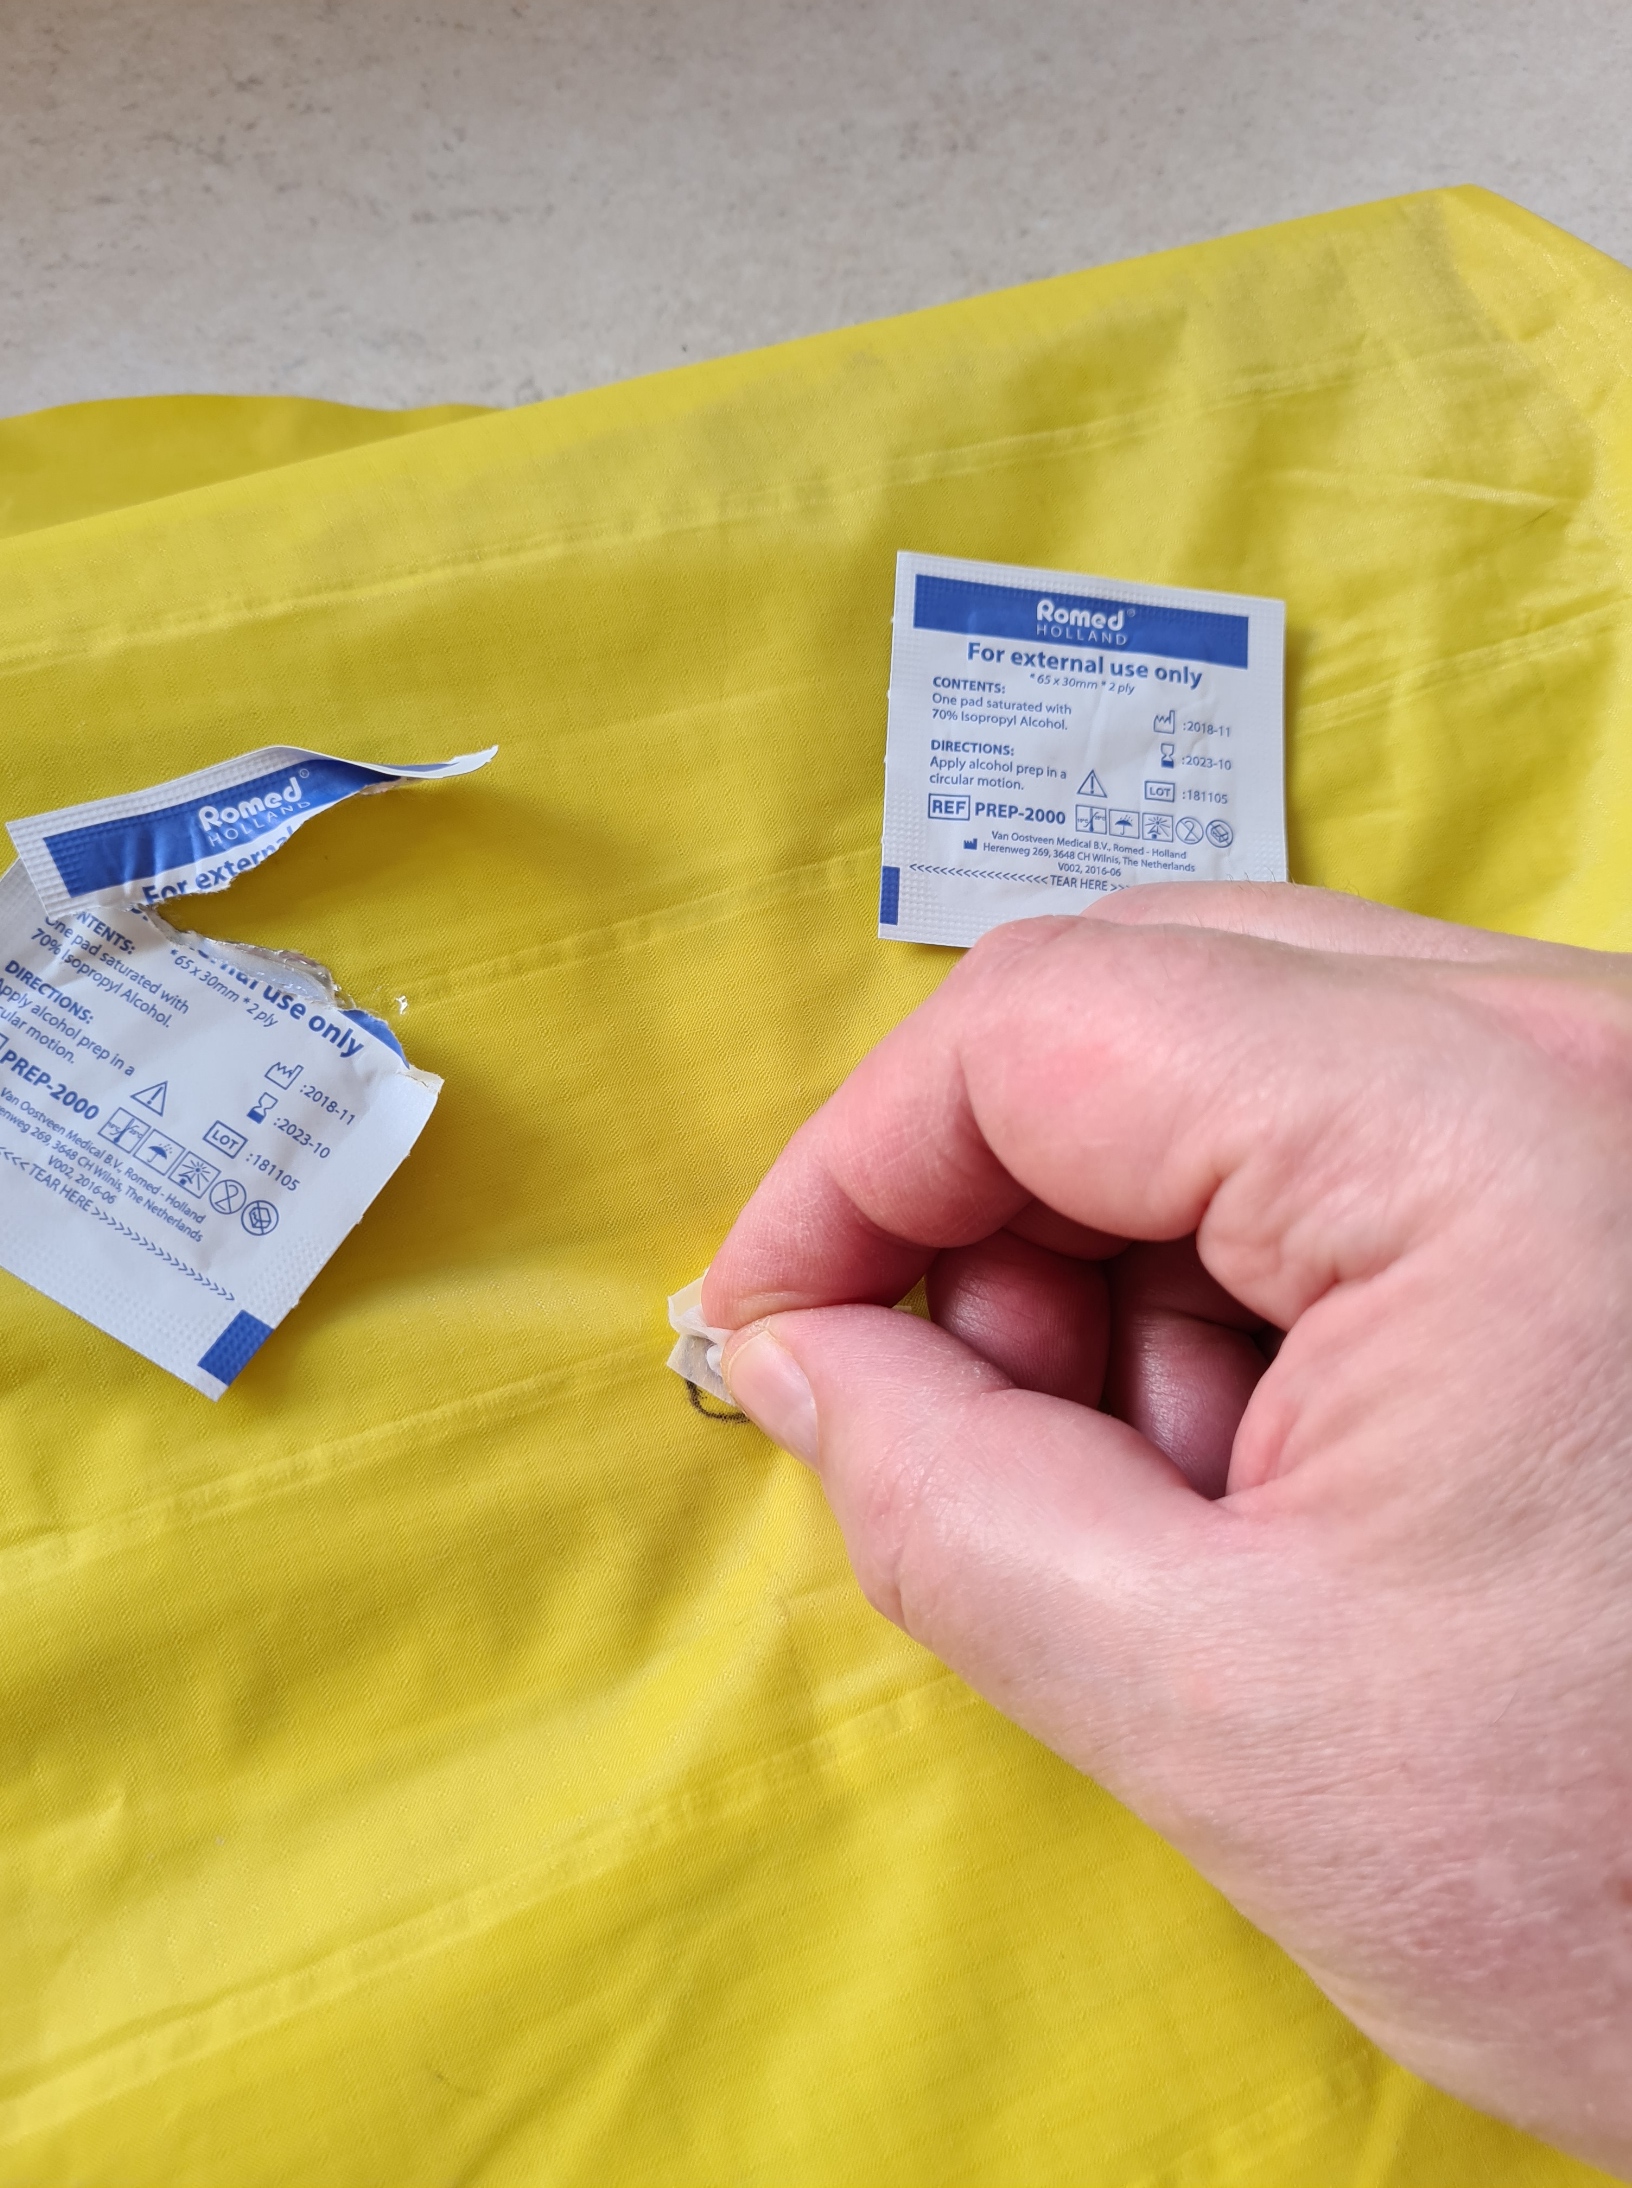
The pad needs to be dry and free of grime or oils prior to effecting a repair. If you used a soap or detergent to locate the leak, ensure that all trace of this is removed too. Take some time over this as any repair will be more effective on a clean and dry surface. Thermarest include alcohol pads in their repair kits to aid in the cleaning, or you may have one in your first aid kit you can use. Prior to starting a repair, the pad should be completely deflated.
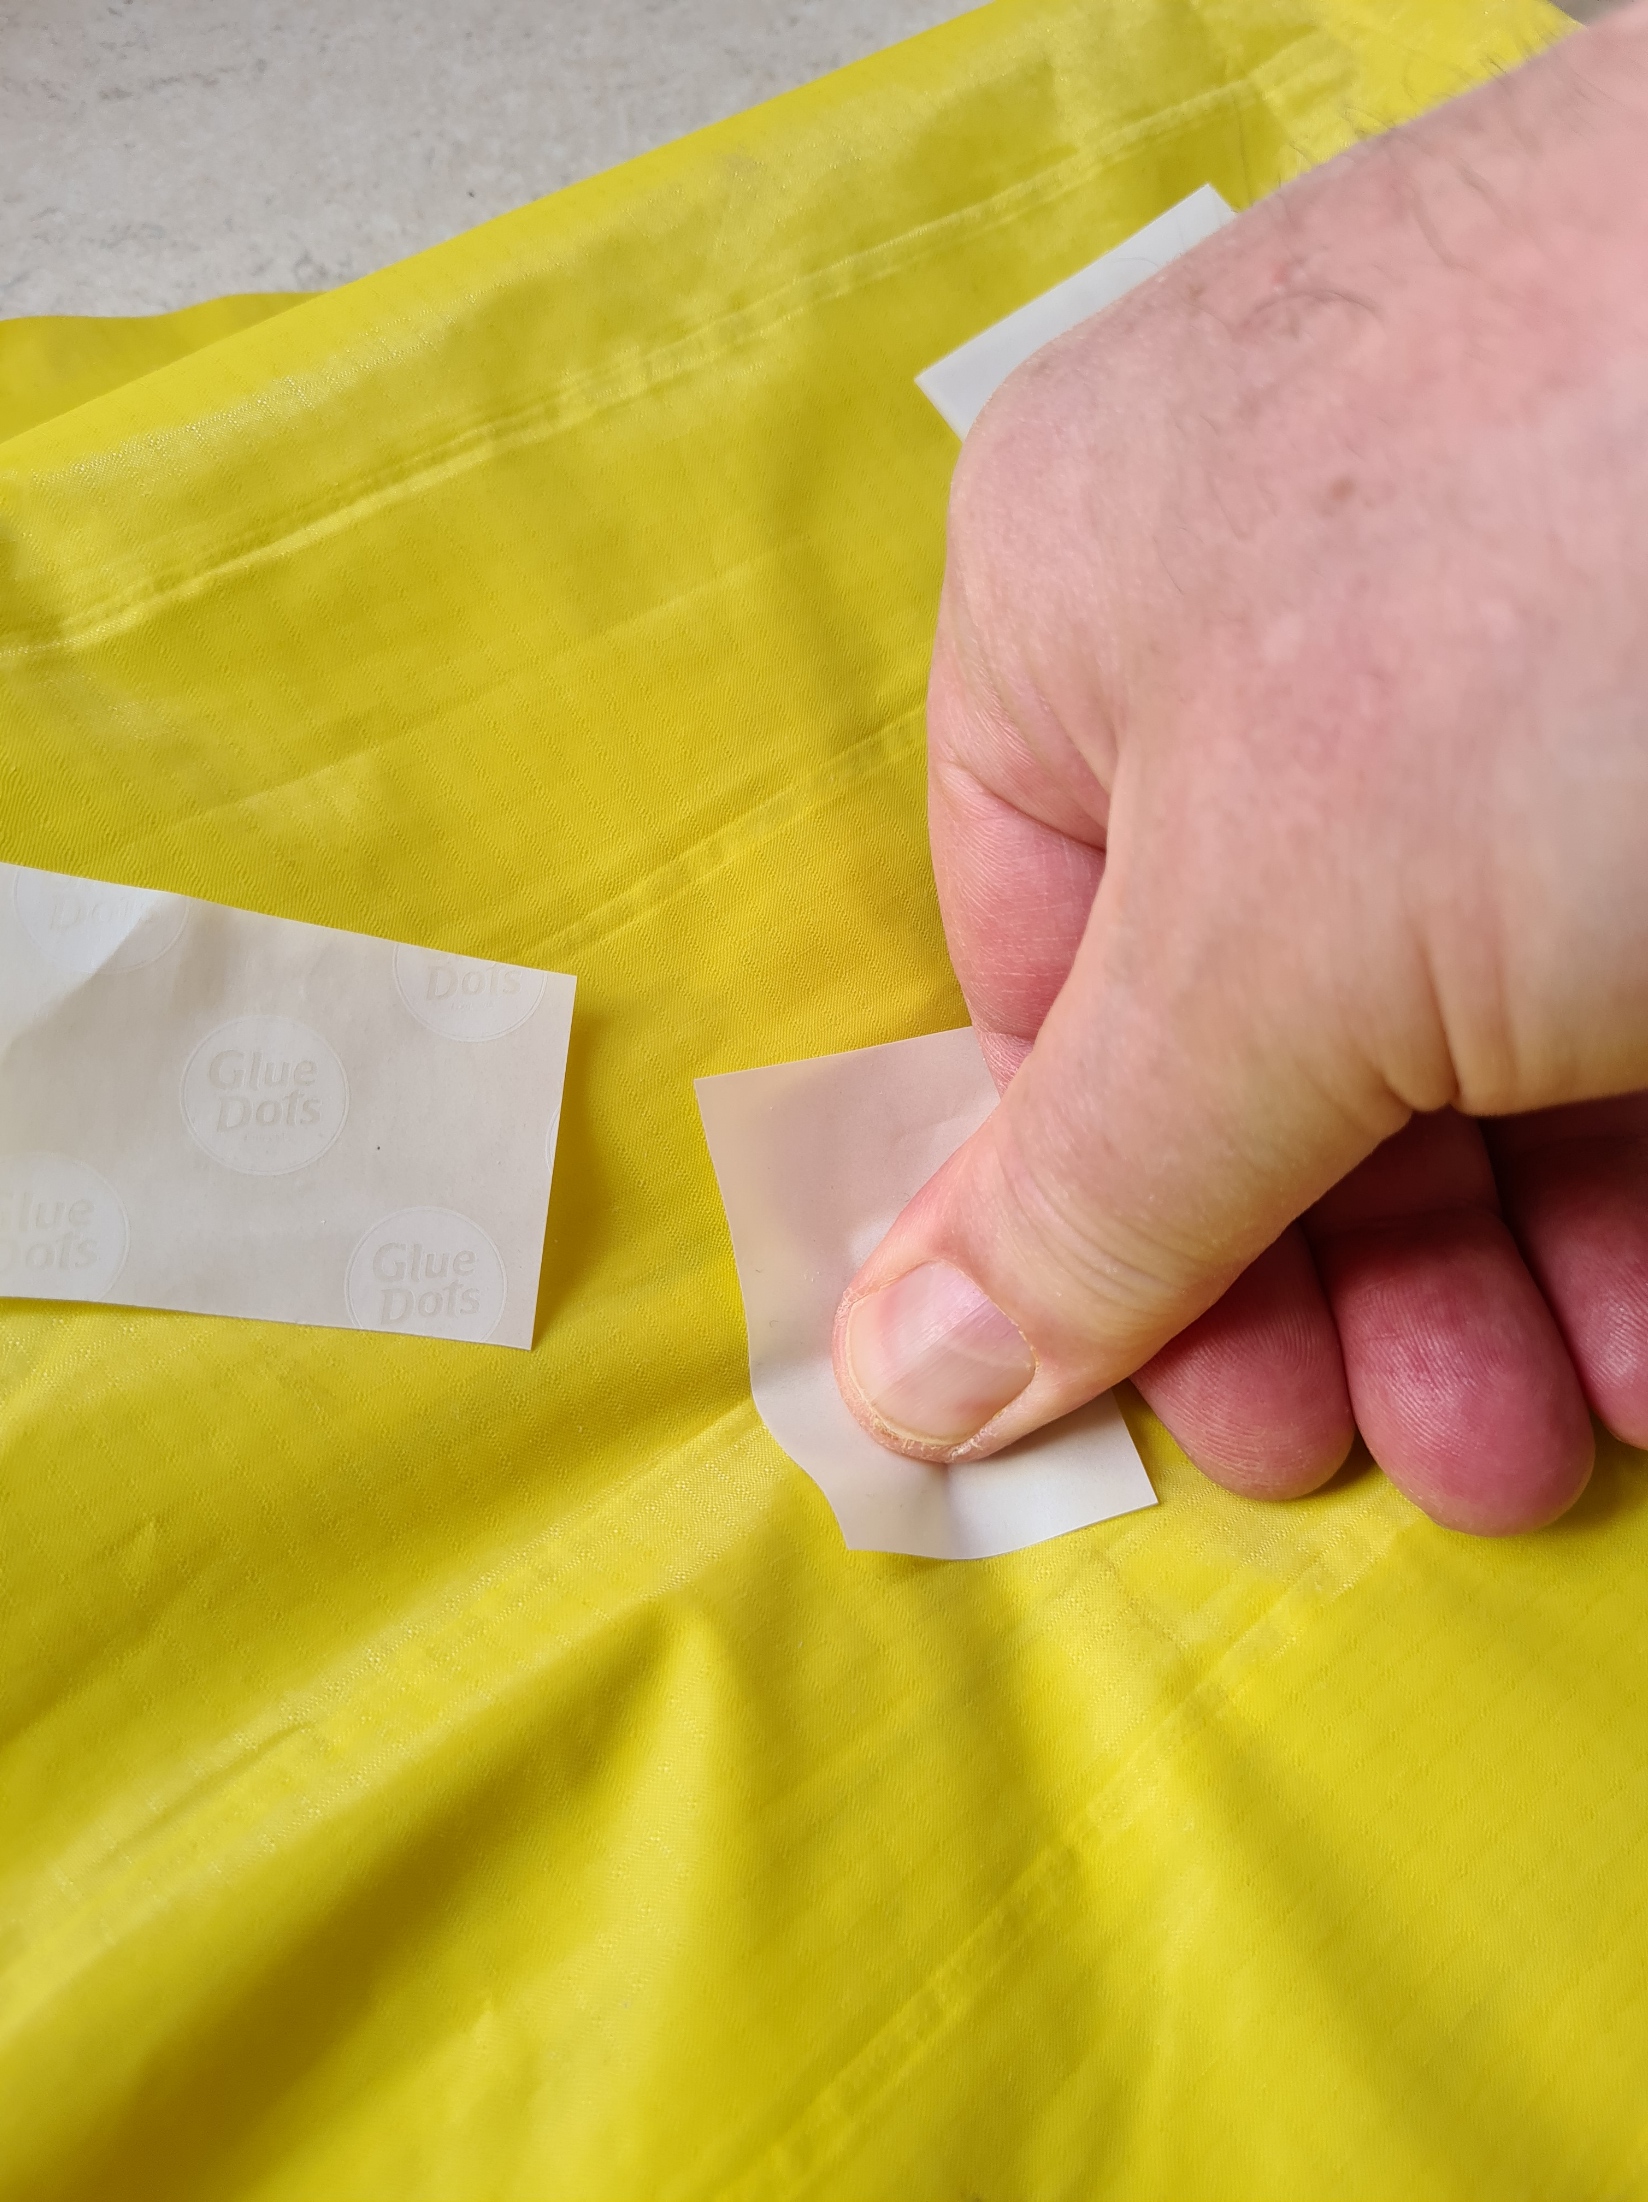
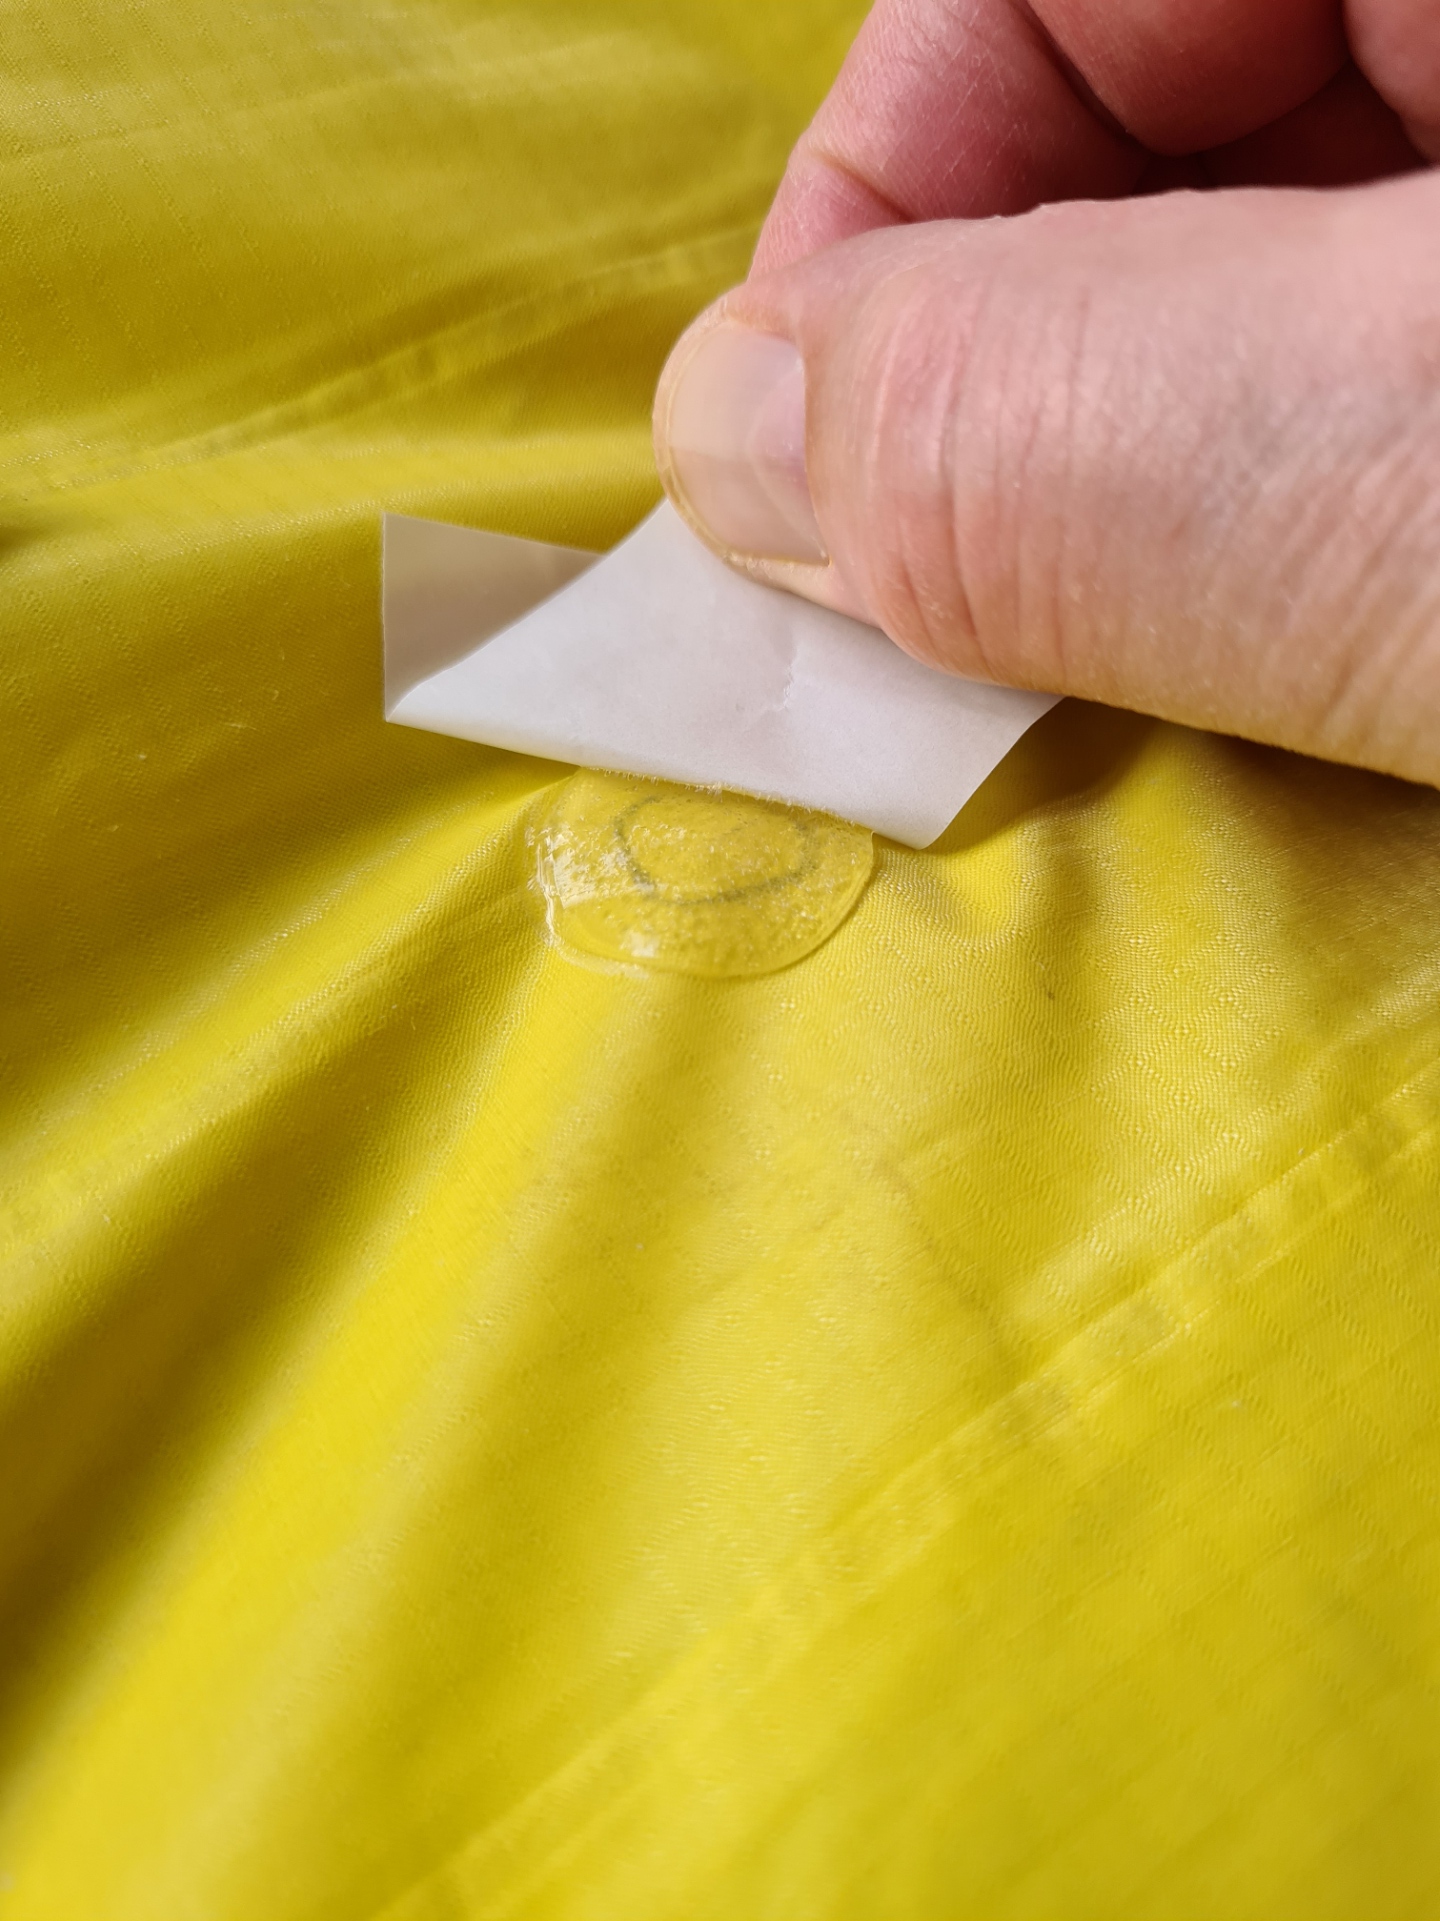
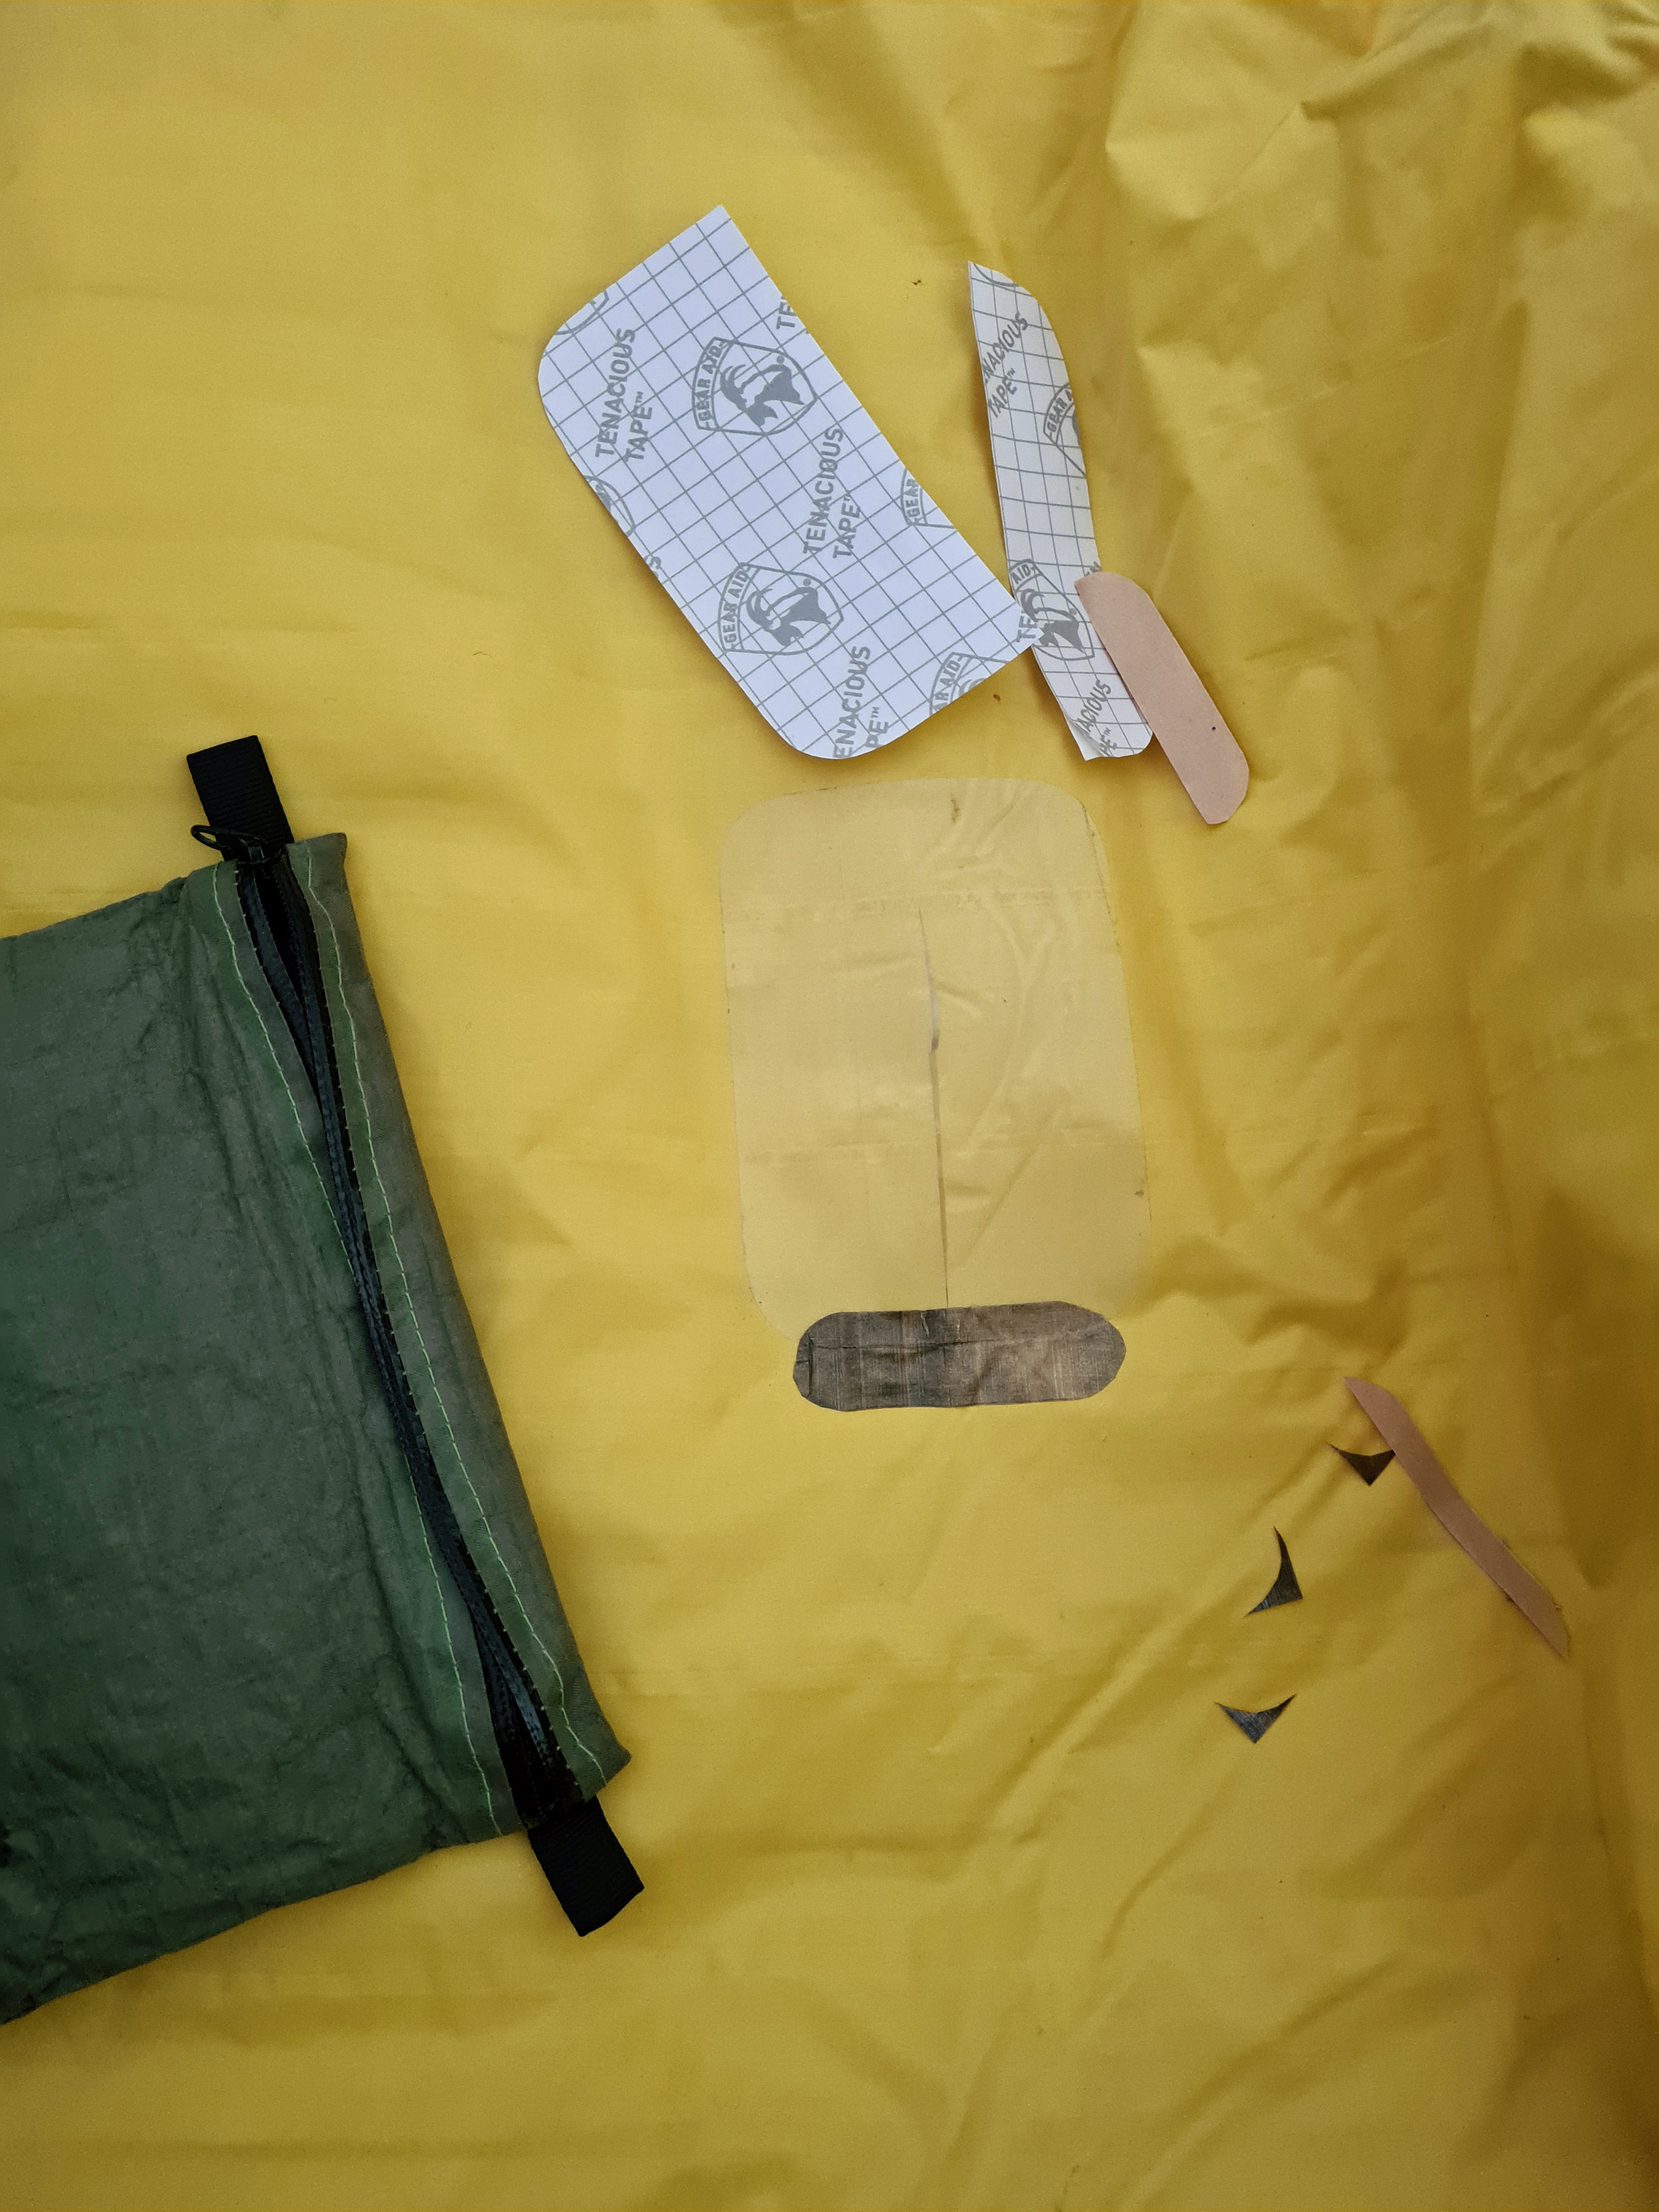
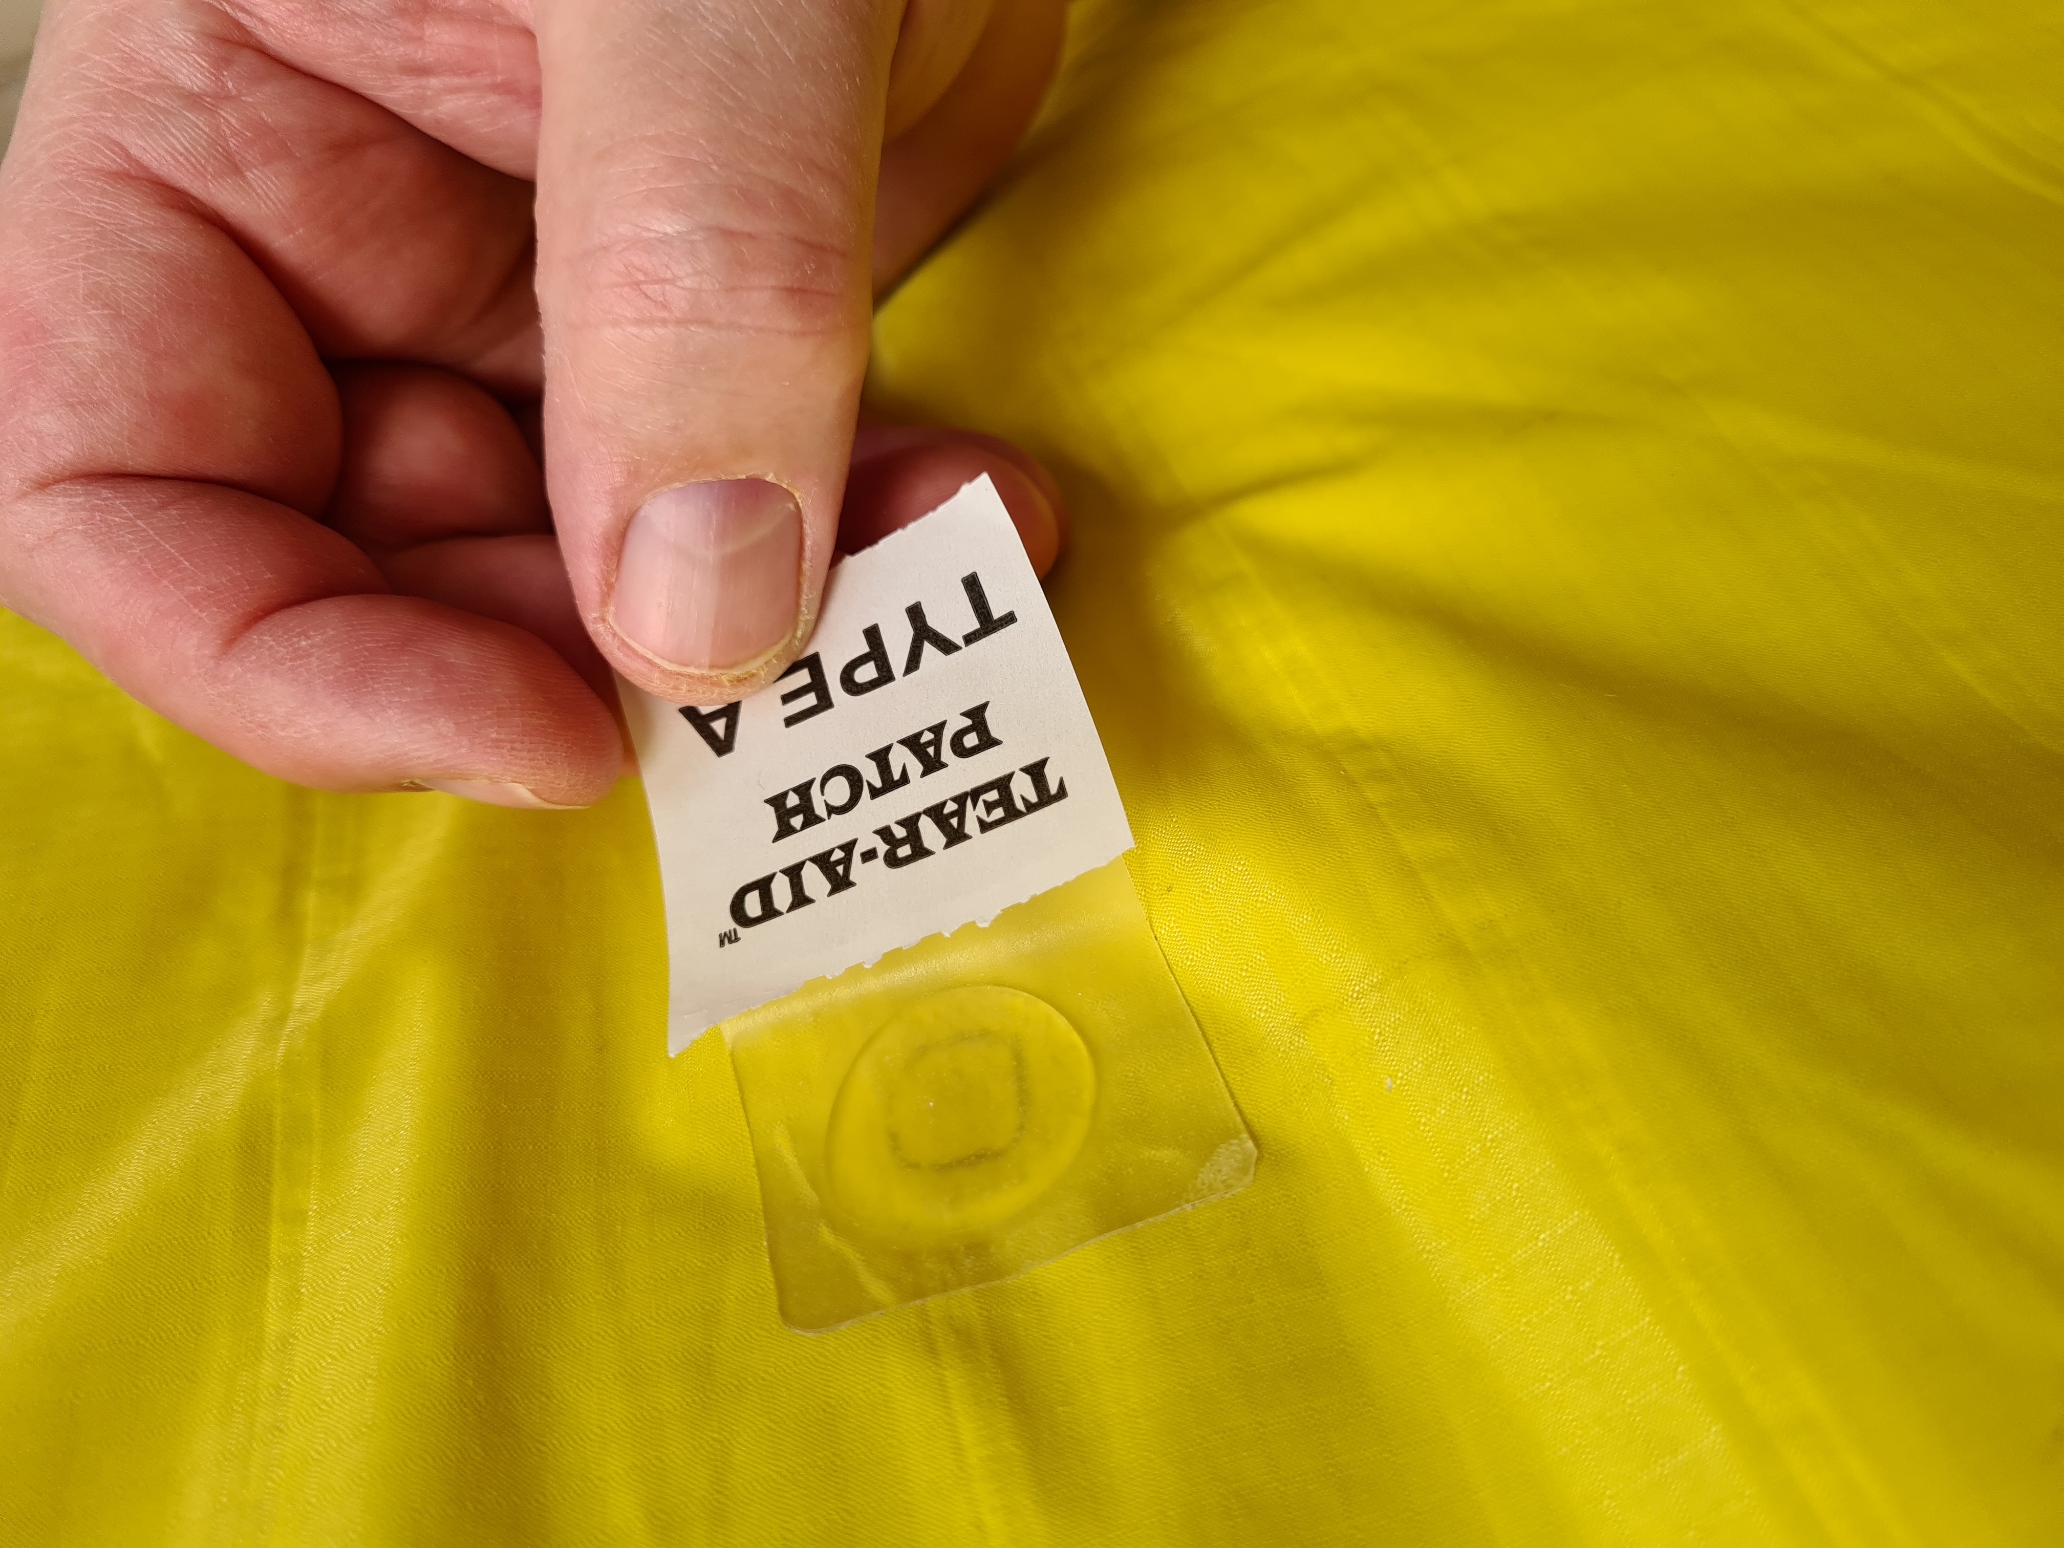
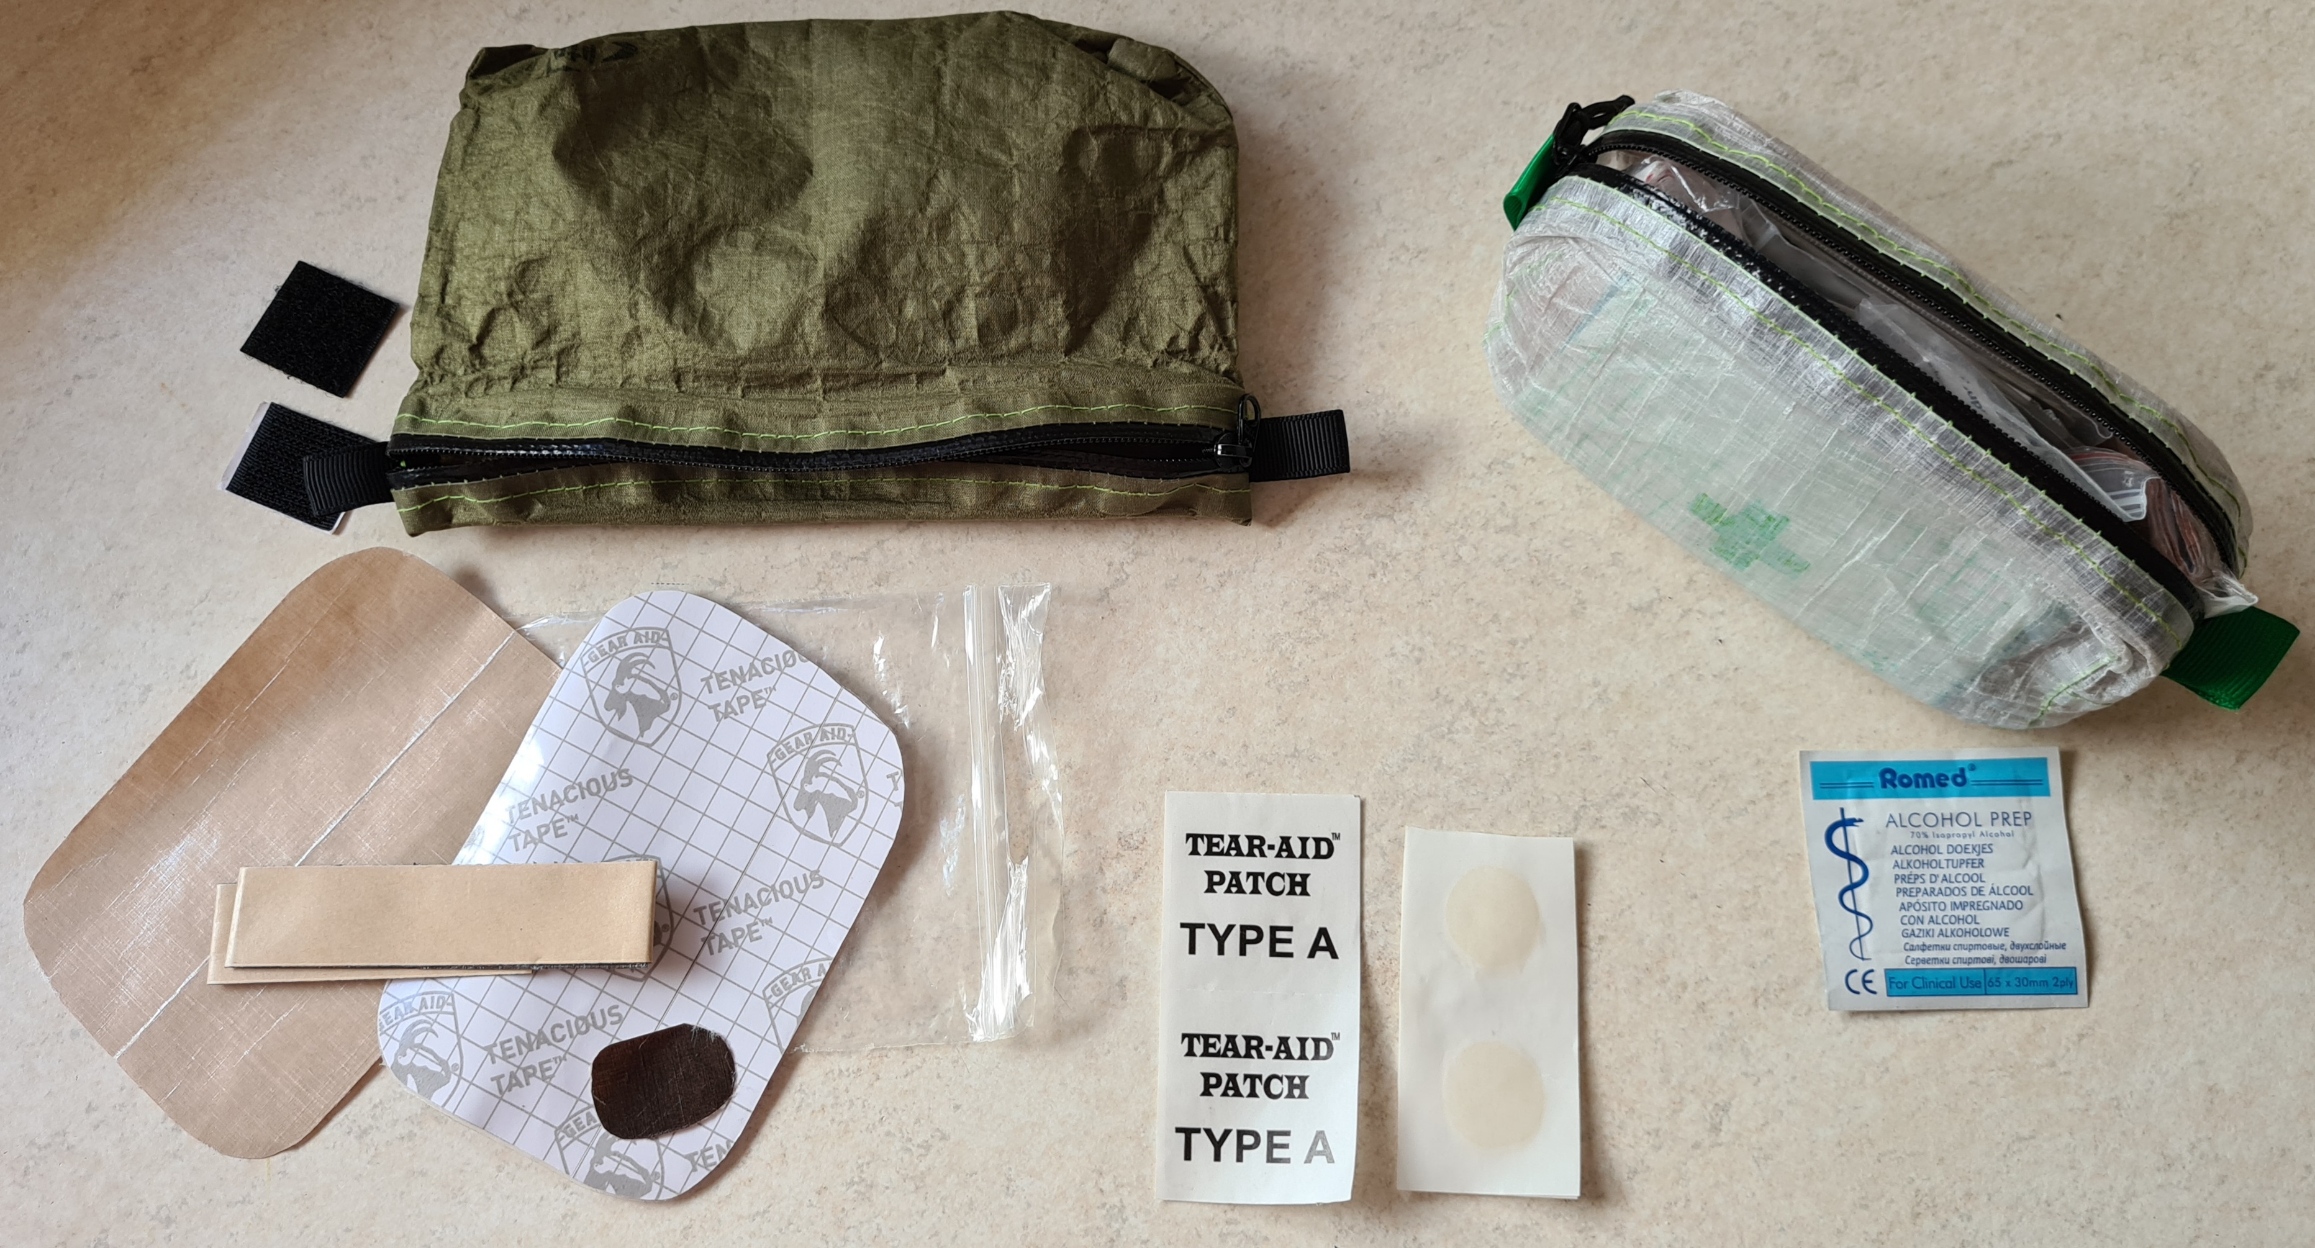
Mine was a fairly small tear puncture and one Glue Dot sufficed but two, three or more can be used on larger tears or damage. Thermarest have supplied patches of various colours over the years but the present ones from Tear-Aid are transparent so are suitable for use with a pad of any colour.
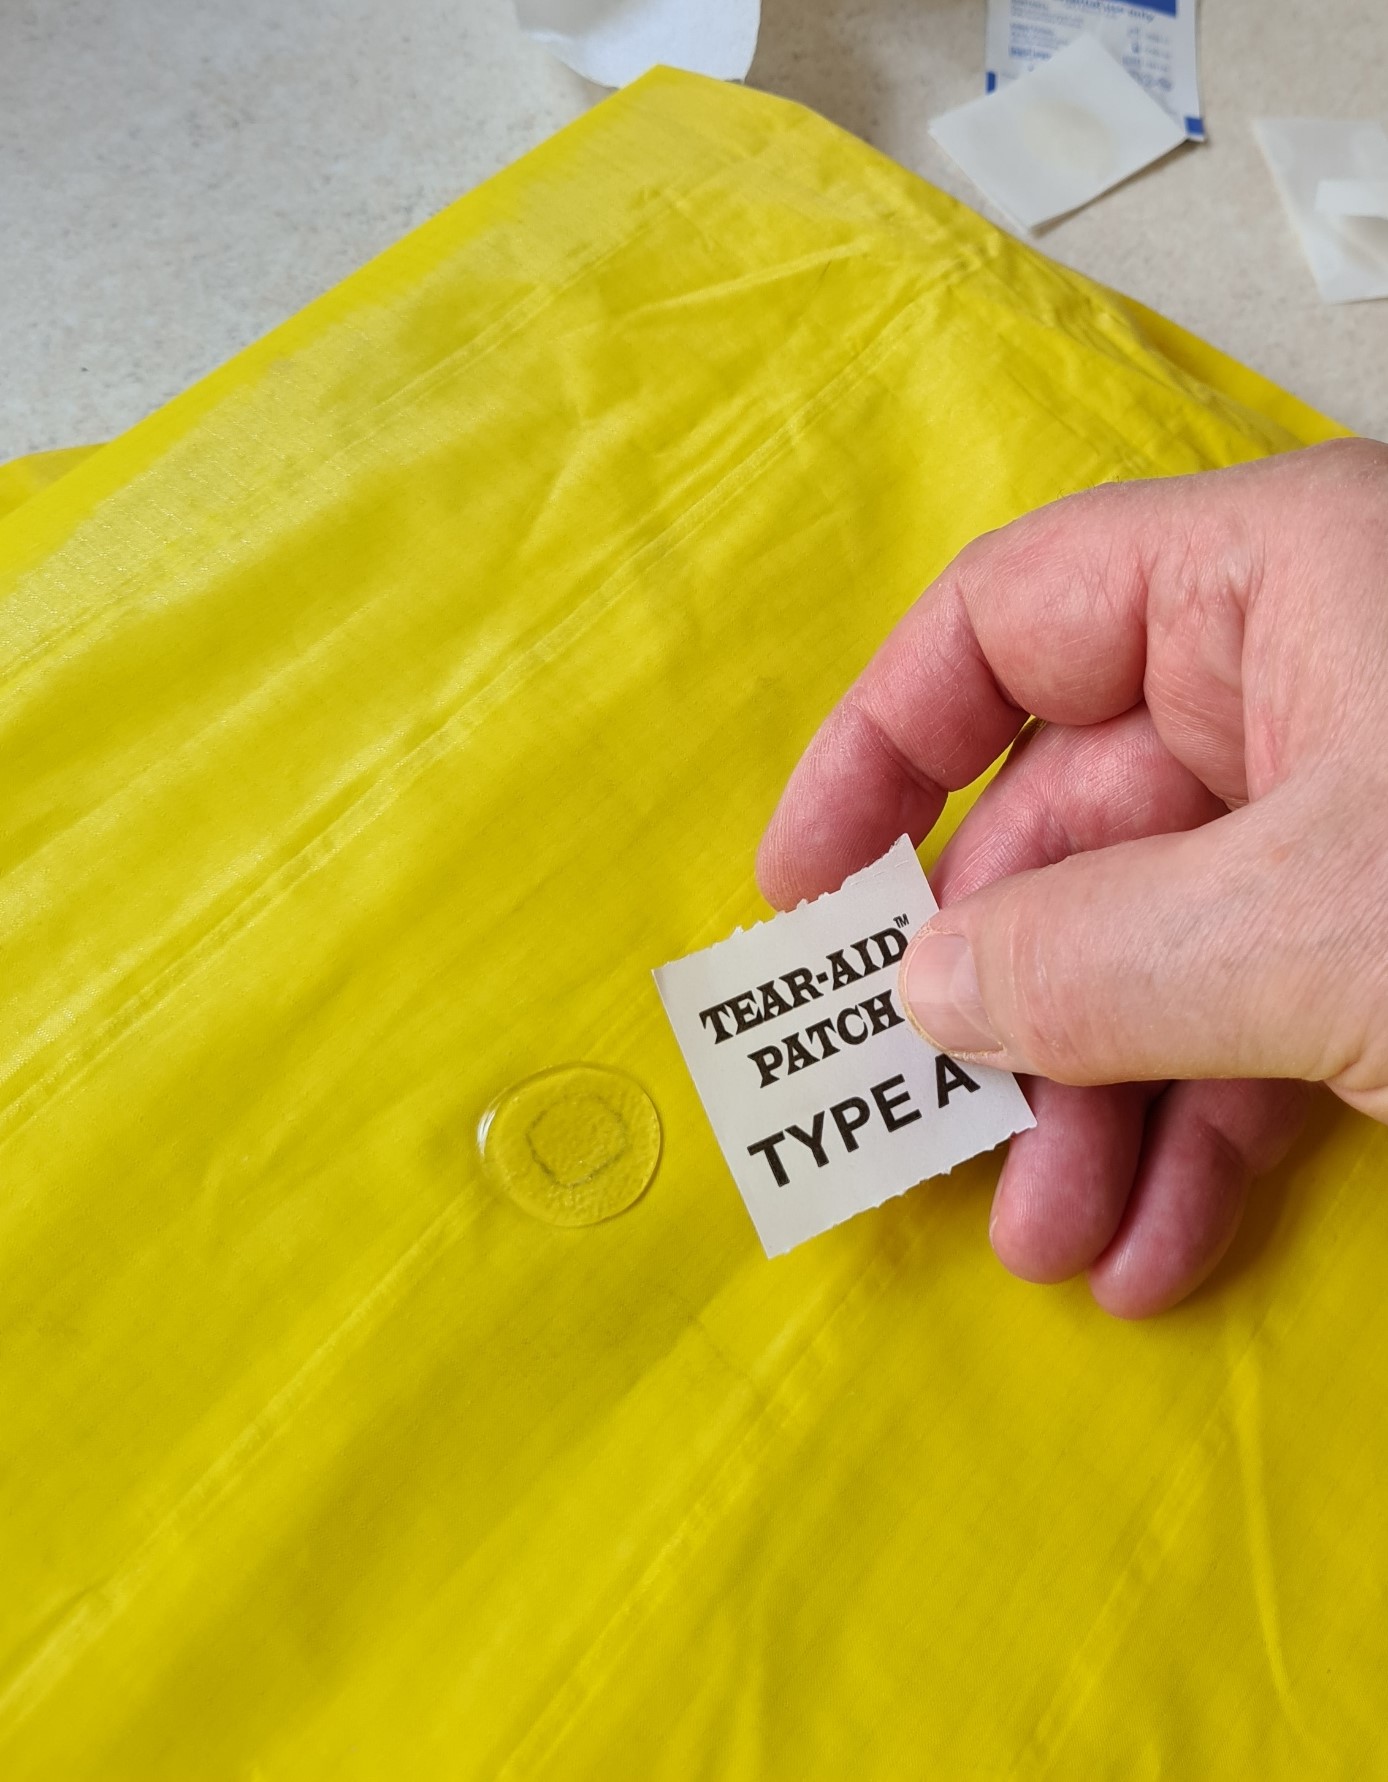
The patches that Thermarest supply in their Field Repair Kits are often square in shape. While this can make them a little easier to peel from their backing tape, they would be better if circular to resist the risk of peeling. If you can be bothered to and are armed with a pair of sufficiently sharp scissors, you might prefer to round the corners. Note that some Instant Repair Kits do have circular patches.
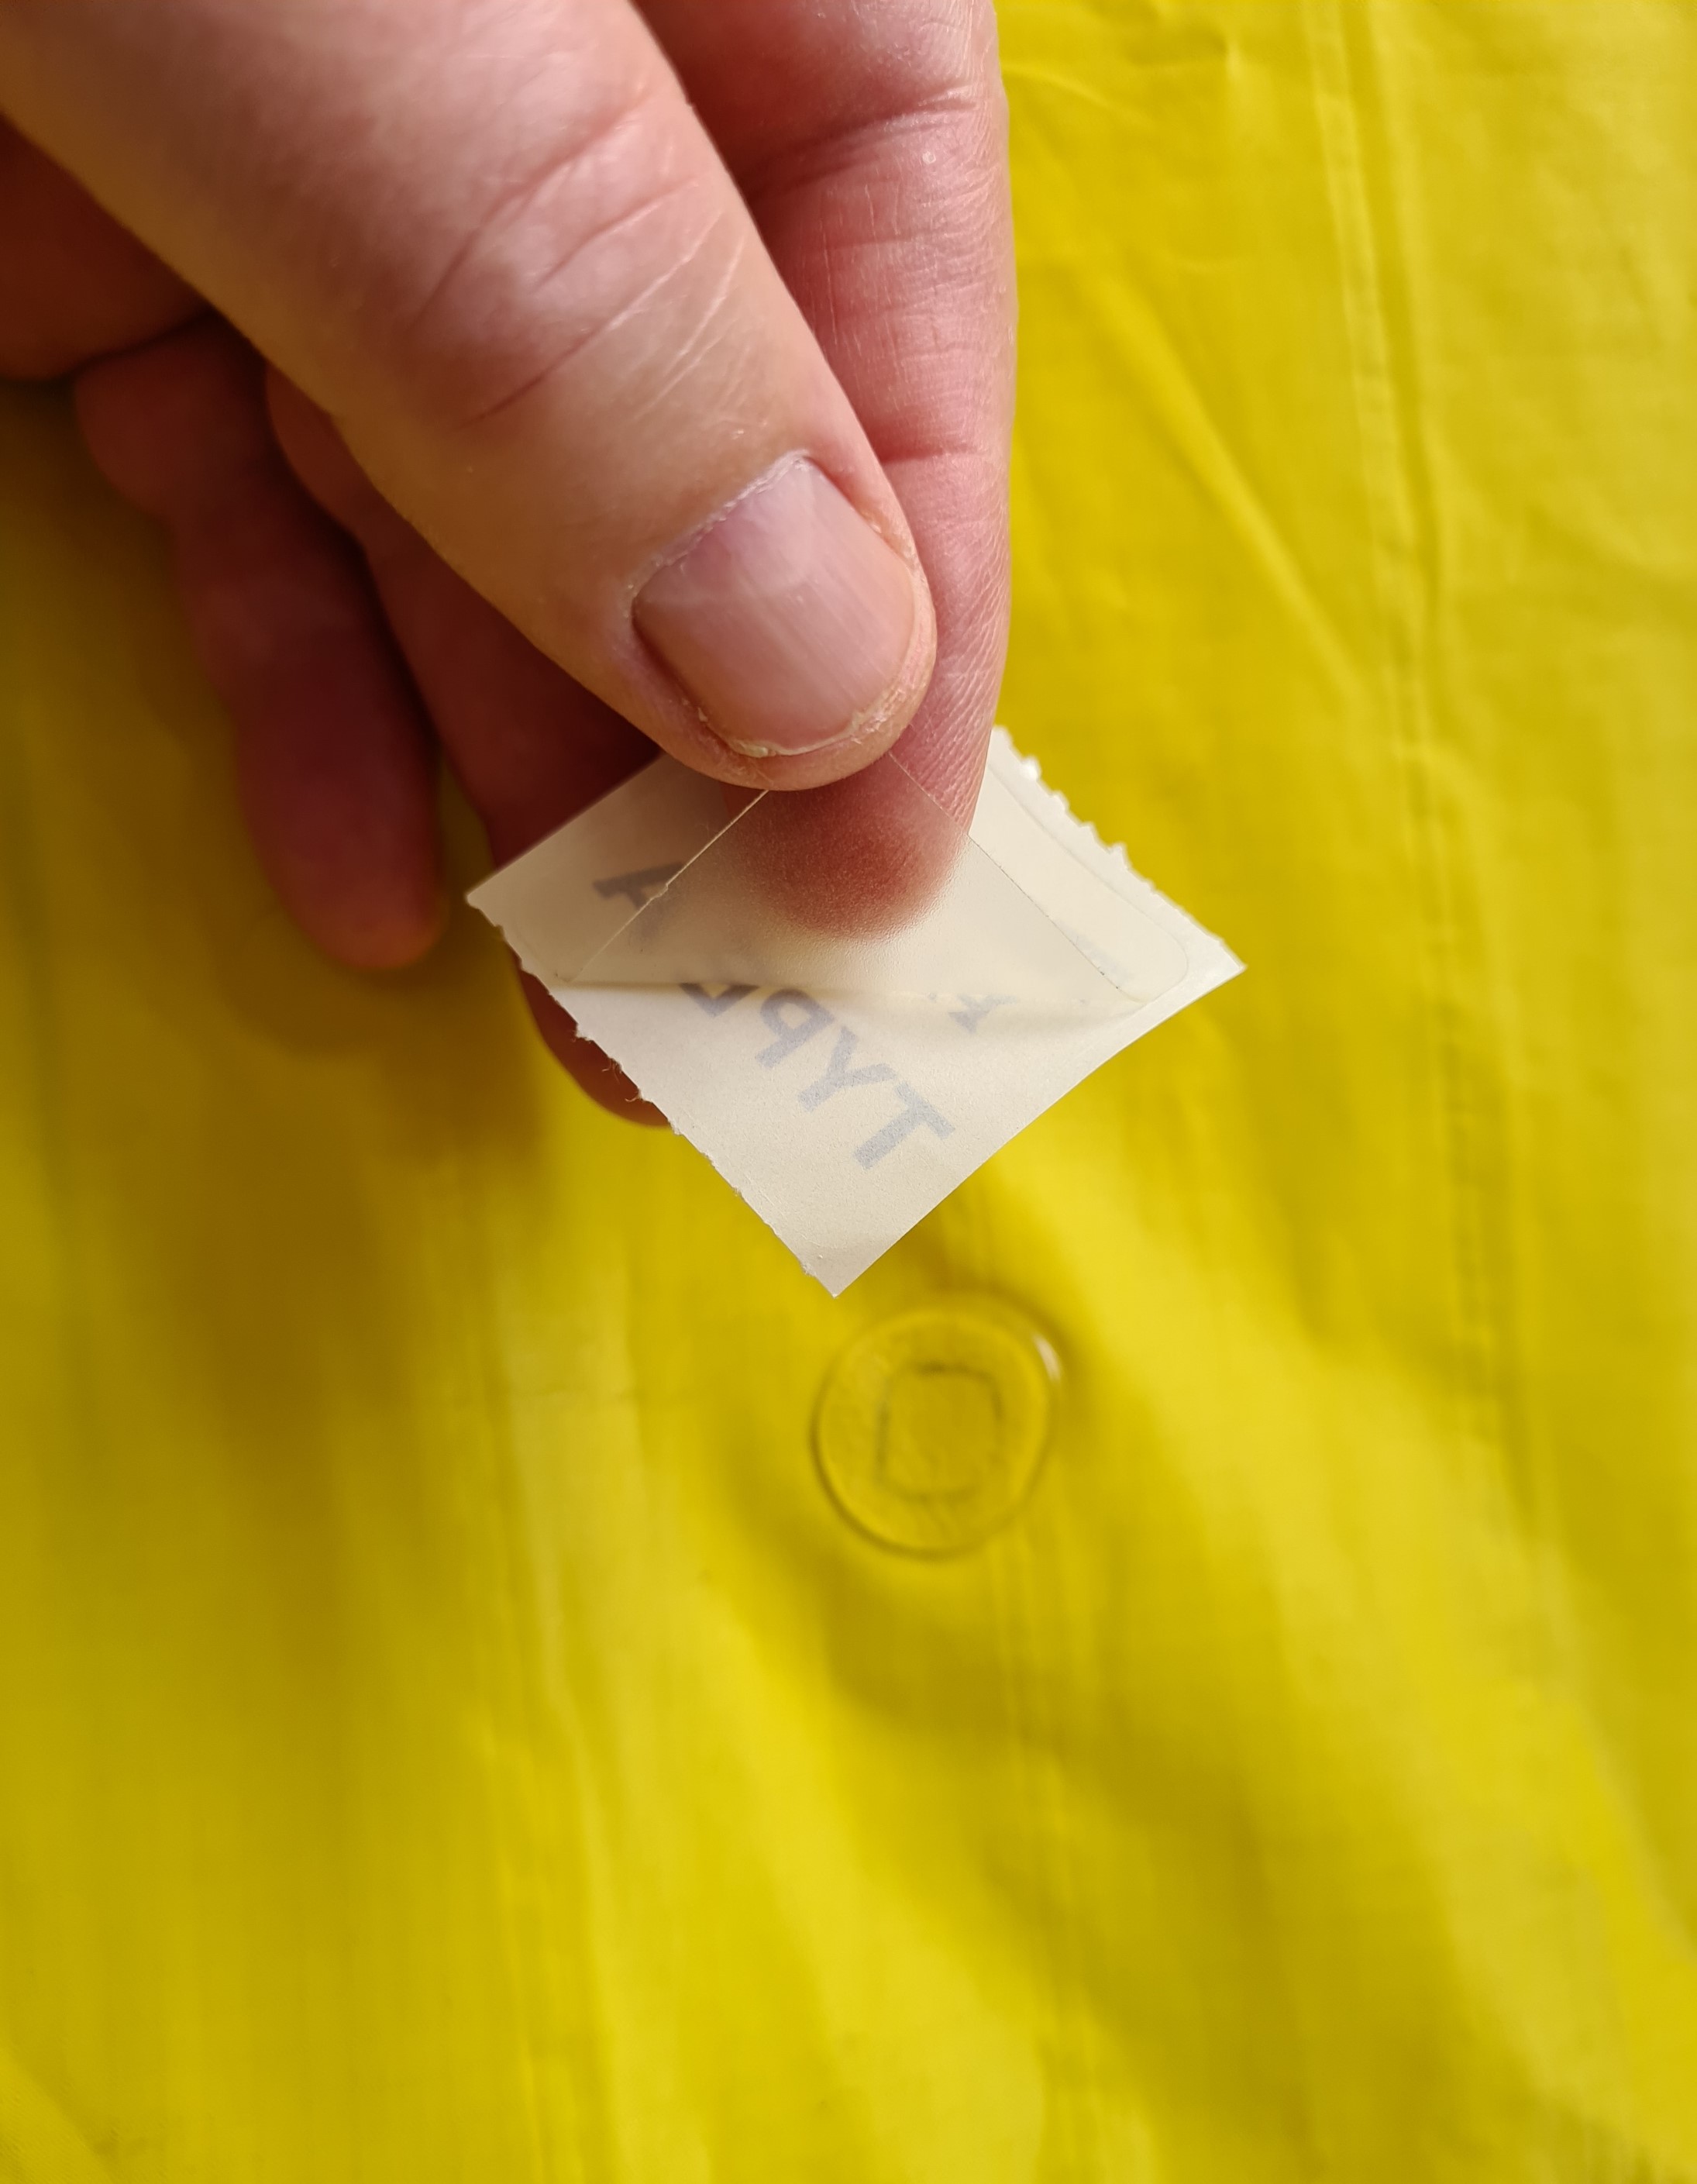
The Tear-Aid patches that Thermarest include in their repair kit are pretty small and only capable of small punctures. If you have more extensive damage then a larger patch or strip of repair tape from the likes of Stormsure might work for you. Tear-Aid, makers of the patches included in the Thermarest repair kits also make larger patches of 75mm width of various lengths. If you were wondering what the difference is between Type A and Type B patches. The Type A patches are specially made for repairs to rubber, neoprene, polyethylene, nylon, plastic, polypropylene, aluminium, stainless steel and non-oiled leather surfaces that are generally dry and do not contain oily substances. Type B patches are used for repairs of vinyl materials that have oils. Type B patches are not included in the repair kit.
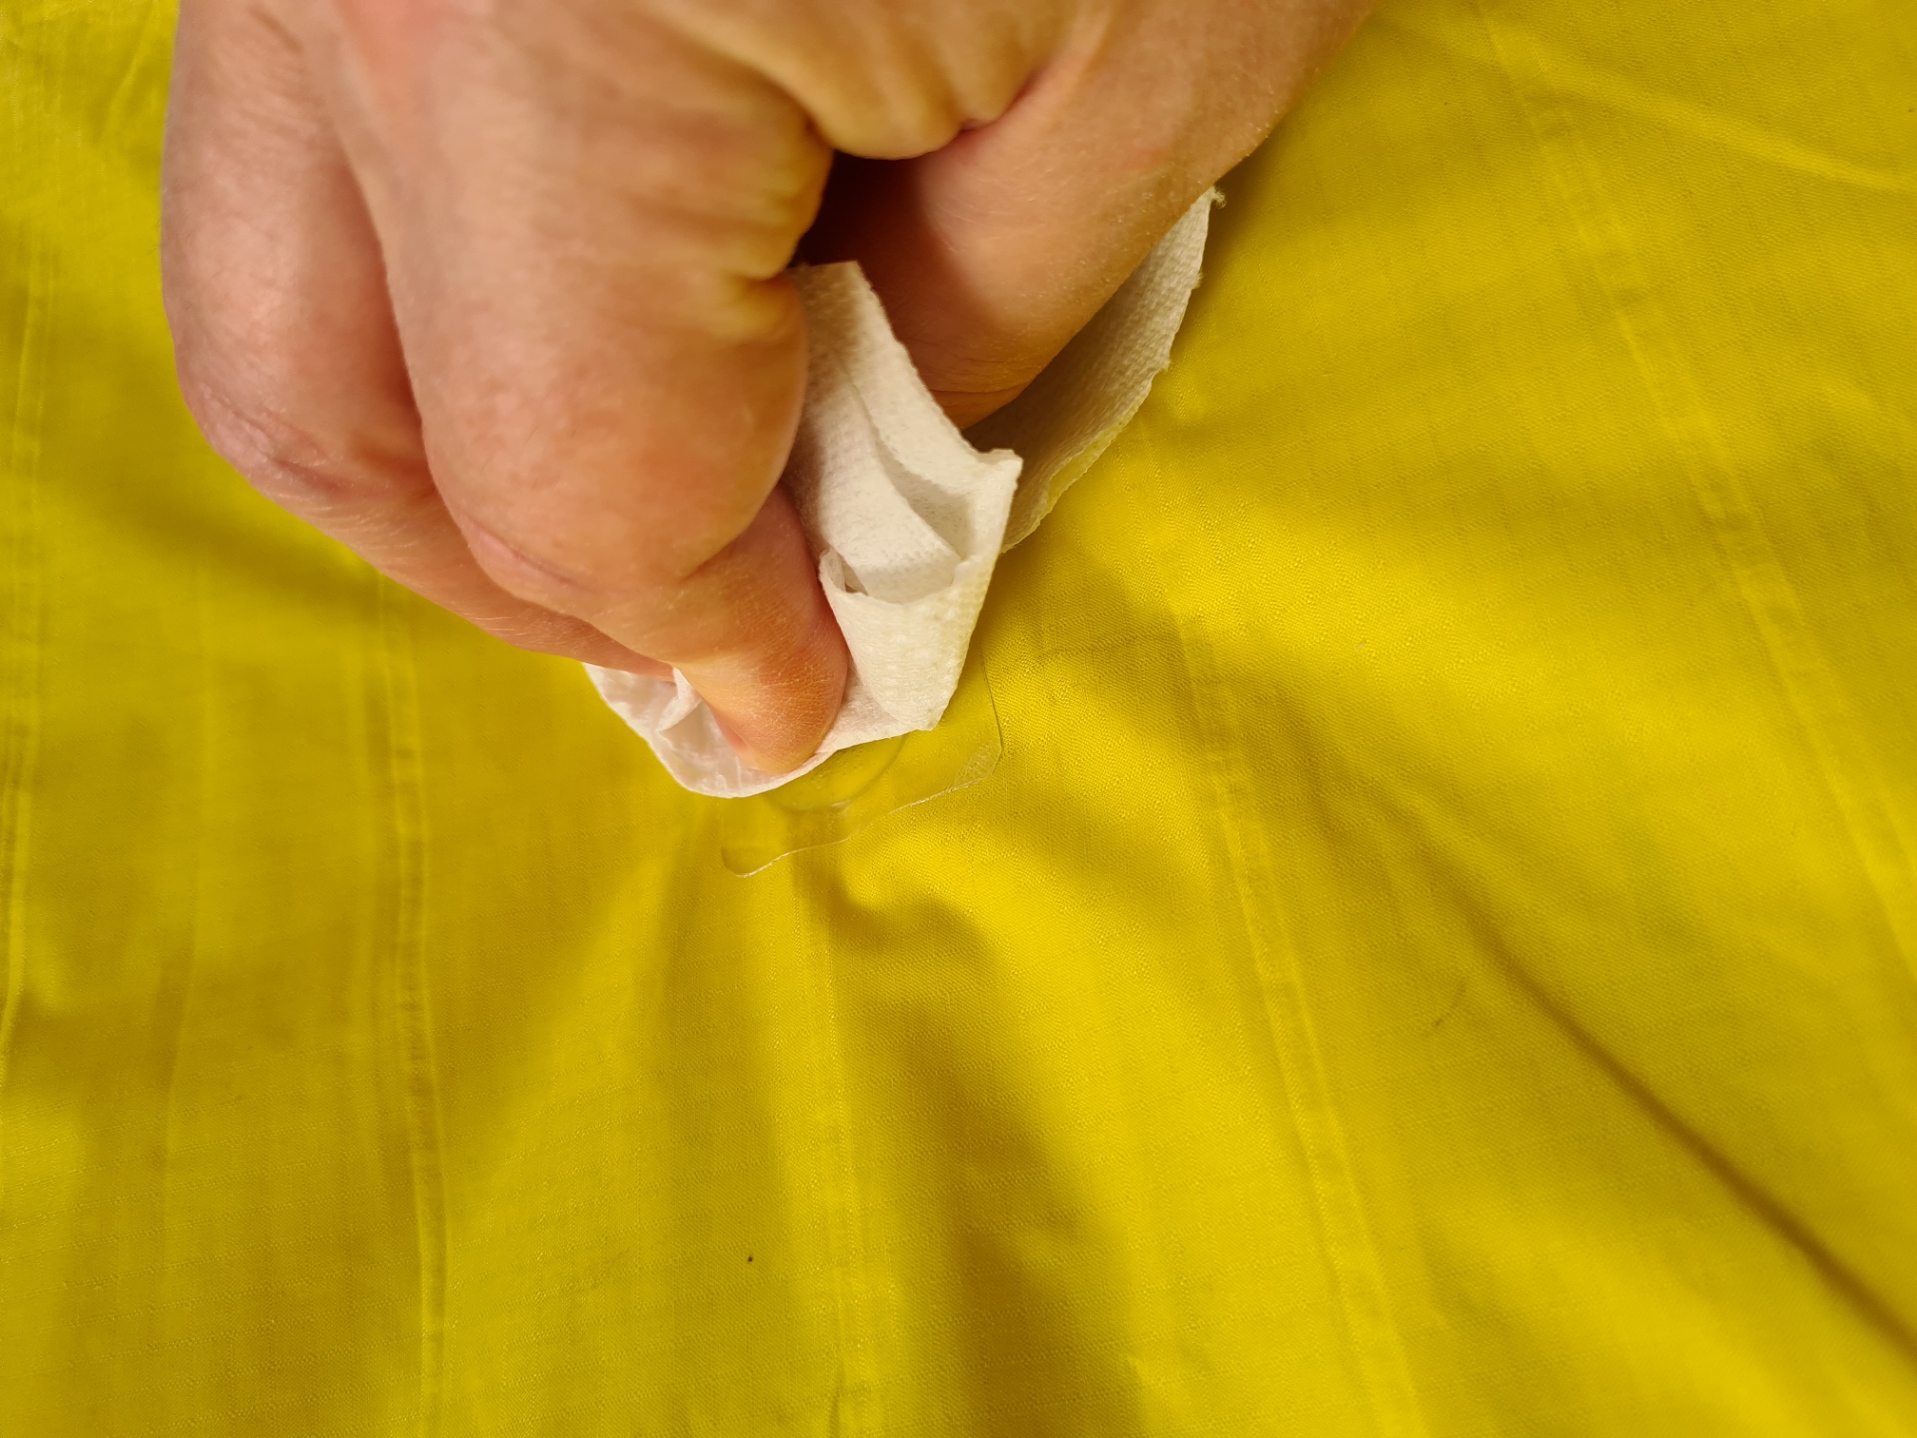
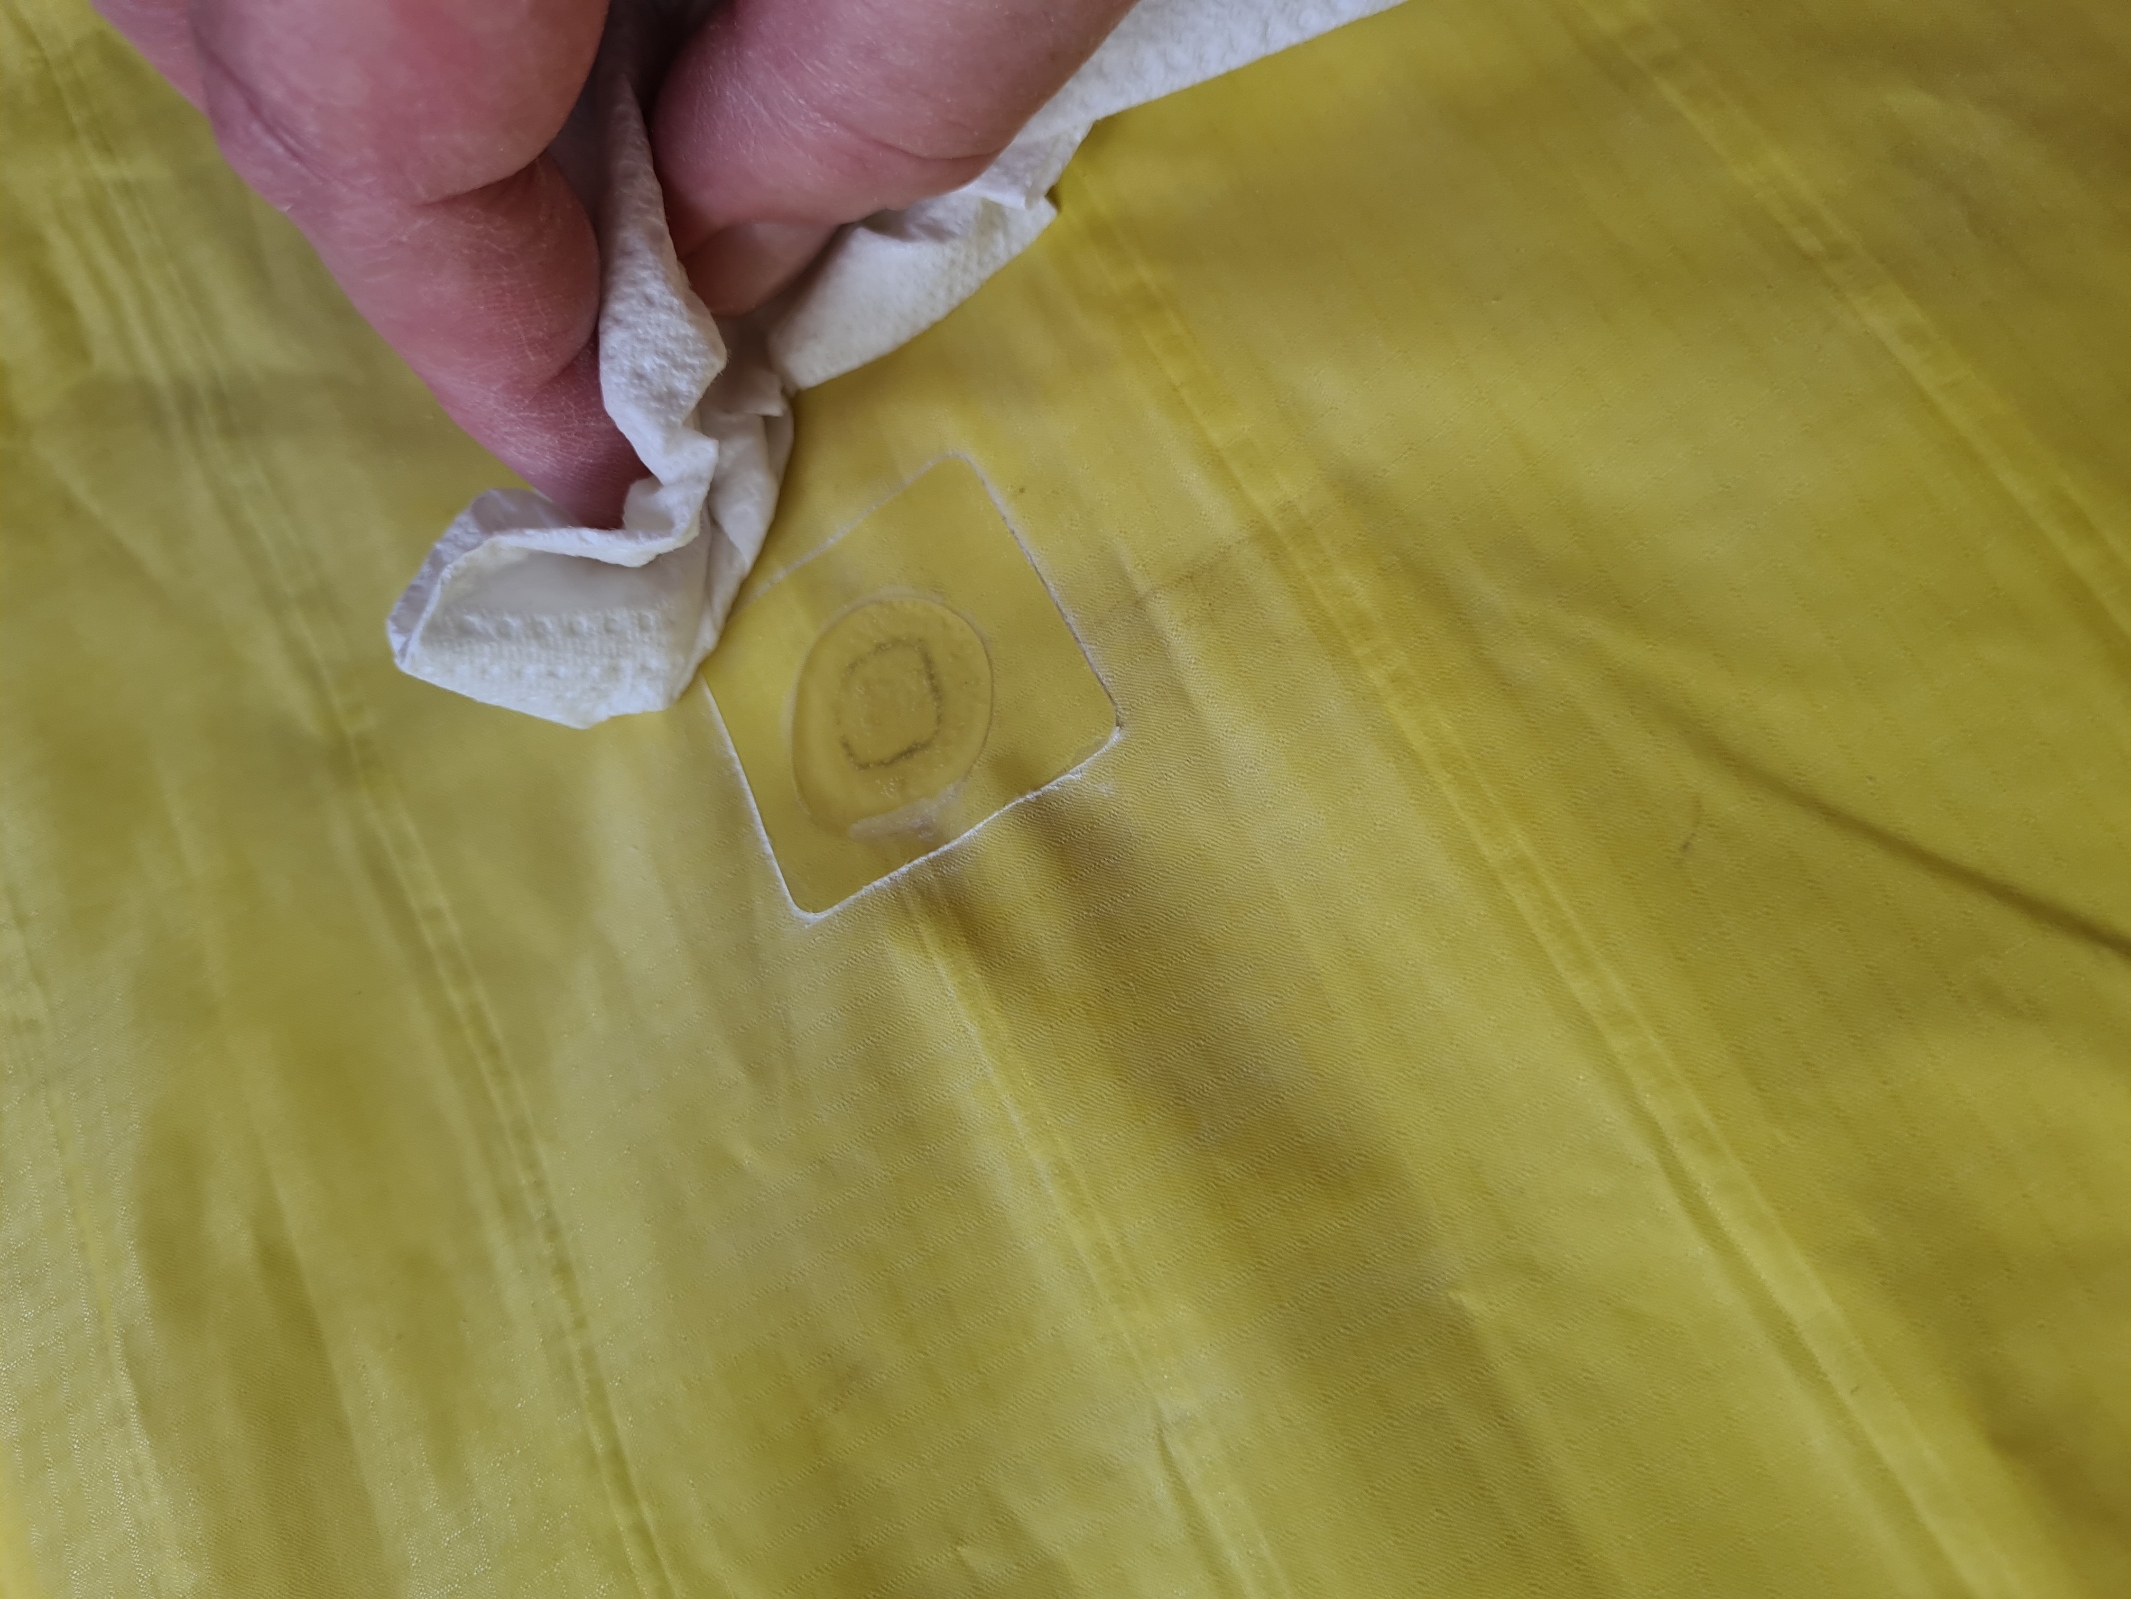
I find a light dusting with a bit of talc helps remove any residual tackiness. This is not an essential step, but if I have the luxury of doing it, then I do. Leaving a flat heavy weight such as a pan of water pressing down on the repair (deflated mat) while it cures for a few hours will help if you have that time luxury.
Do try and find what it was that punctured the pad. There may be an errant thorn still stuck through a shelters footprint, just waiting to repeat the damage. Alternatively, it could be a faulty valve that is at fault on occasion. That can be a tricky escape of air to locate in the first stages of investigation. I’ll look at valve repair, both Classic and Winglock, in a future post.
I do include a couple of the Thermarest glue dots and type A repair patches in my ditty bag when backpacking, but only carry alcohol pads in my First Aid Kit where they perform double duty. I also carry a couple of larger strips of Tenacious and/or DCF repair tape for use on more extensive damage on a pad or other equipment such as dry bags, pack or shelter.

1 reply »